Let us imagine the situation of an original network on which a number of corrections were made, such as re-zoning of an area. For example, details of changes could be: changes to node positions and changes to bends in links. We are going to illustrate how to create a branch of the original network and copy across the corrections.
To copy data between networks:
- We are going to use two networks, both of them being provided to you in the Tutorial example:
- In the Newtown model group, right-click the 'Newtown to Edit' network and select Show commit history.
- Select version 1 and branch to create a new distinctive network.
- Enter an appropriate name and click OK.
- Close the Commit History dialog.
- The new network is displayed below the original in the Model Group window.
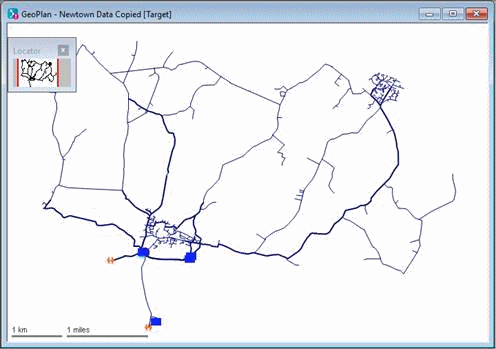
- Open the latest version of the 'Newtown To Edit' network from the Model Group window. This is a modified network for which some changes have been implemented.
- Produce a report of the differences between the networks:
- Click the title bar of the 'Newtown To Edit' network.
- Select Network | Compare The Network Compare Selection dialog is displayed, with the current network selected in the Compare this box.
- Check the Differences from another object check box and drag the network you branched in step 1 from the Model Group window into the Show box.
- Tick the
Select changed objects check box.
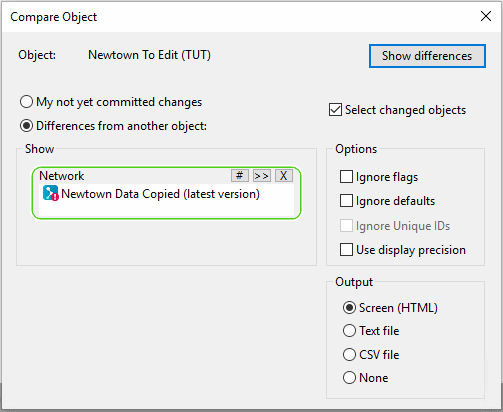
- Click Show differences.
- Close the Network Compare Selection dialog. The text window lists the changes that have been made. The changed objects are highlighted in the 'Newtown Edited' network.
- Save the selected objects to a new 'All Edited Objects' selection list.
- Copy the node data to the new network:
- Click the title bar of the 'Newtown To Edit' network and then the
 (New nodes window) button to display the Nodes grid for the original network.
There are buttons on the toolbar corresponding to the Window / Grid windows options for displaying the grids.
- Drag the 'All Edited Objects' selection list to the network you branched in step 1 to select the edited nodes. Display the Nodes grid for the network.
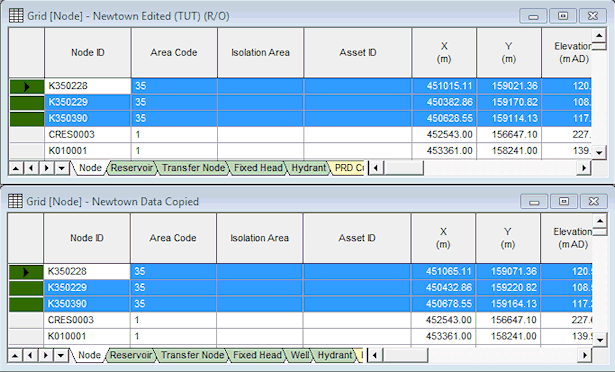
- Adjust the windows so that you can see both grids and use Grid | Group network selections at top of grid in each case so that the records for the selected nodes are at the top. Check that the Node IDs are in the same order.
- Change the column widths so that you can see the
X and
Y columns and freeze the Node ID columns. All the
Y values and
X values are different between networks for the selected nodes; the values that have changed (with the edited data flag) are shaded green.
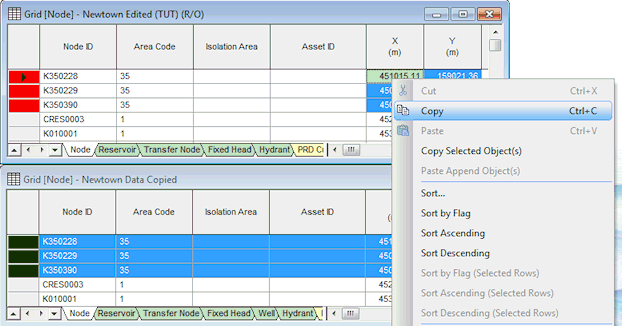
- On the Newtown Edited grid, mark the
X and
Y columns for the selected records, right-click and select
Copy.
- On the new network grid, right-click the top
X value and select Paste. The block of data is copied across.

- Close both grids.
- Click the title bar of the 'Newtown To Edit' network and then the
- Make the changes to the links:
- Click the title bar of the network branched in step 1 to make it active.
- Use Network | Compare to identify the differences between this network and 'Newtown Edited'. Check the Differences from another object check box and drag the 'Newtown To Edit' network into the Show box.
- Check the Select changed objects box.
- Click the Show differences button.
-
Save the selection from the network branched in step 1 as 'All Edited Links'. The selection may still include the edited nodes as well as links. Edit this by right-clicking the selection list and selecting Open as. Delete the entries on the Nodes tab.
- Drag the selection list onto both of the networks. Use
Find selection to maximise the display on the edited links.
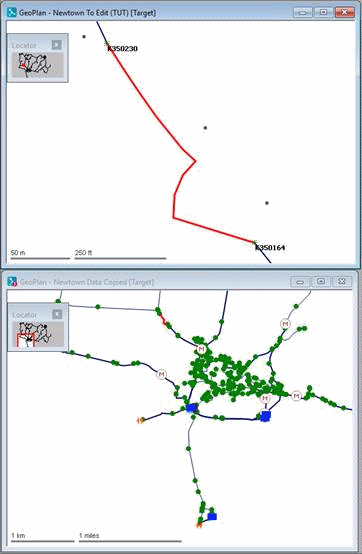
- Click the title bar of the network branched in step 1 and delete the selected links using
Selection | Selection operations | Delete all selected objects.
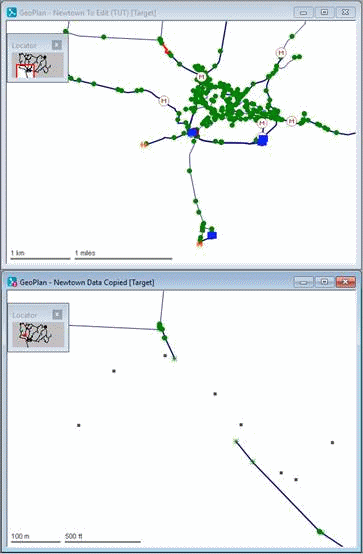
- The selection on 'Newtown To Edit' will not include link K470021.K470030.1 near transfer node K470029. This is because the direction of the link was reversed, resulting in the link being renamed and therefore no longer corresponding to the entry in the selection list.
- On the Newtown To Edit GeoPlan, zoom in on the transfer node. Hold down Ctrl and add the reversed link (K470030.K470021.1) to the selection. Maximise the display of the selection on each network.
- Click the Newtown To Edit title bar and copy the links with Edit | Copy object(s).
- Click the network branched in step 1 and select Edit | Paste append object(s). The corrected links are added to the network.
- Use the
Find selection tool to zoom to the selected pipes.
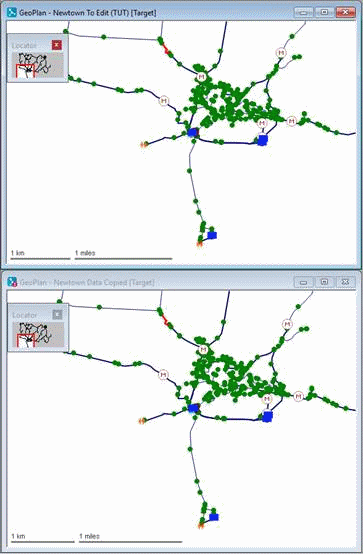
- Commit the branched network (do not validate it) and close the GeoPlan windows.
This has demonstrated some simple techniques to copy data across networks.


