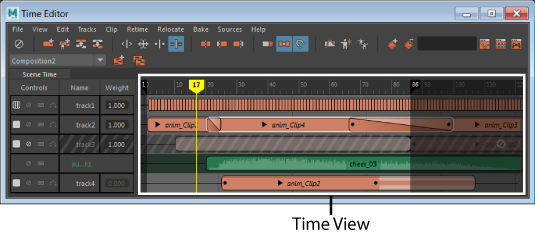
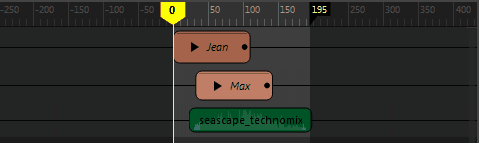
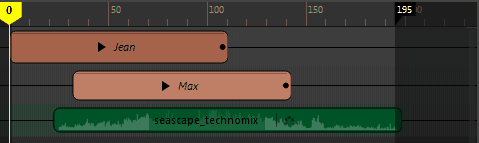
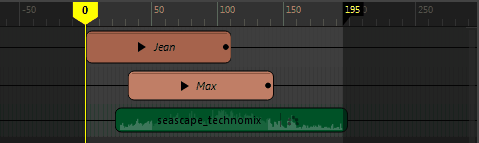
Next to the Roster, the Time View contains animation clips on tracks. Each clip is associated with an group, an object, or an attribute of the object. Use the scrollbar to view all animation clips in the time view. When you select a clip, the start and end frame appears above the clip.
Tip: You can customize the default color of clips and tracks in the
Color Settings
Preferences. See
Change user interface colors.
Navigating the Time View
For information on resizing the Play Range, see Time Editor Play Range.
For information on adding new tracks, see Working with Time Editor Tracks.
For information on adding clips in the Time View, see Working with Time Editor clips.
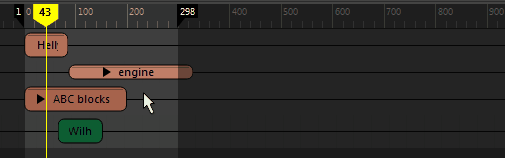
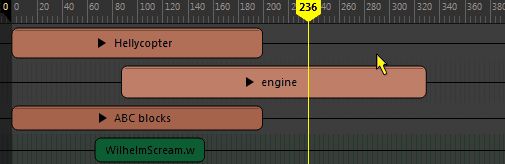
- Frame indicators
- Frame indicators are numbers that appear above a clip when you select it. The
black Frame Indicators indicate the clip's start and end frame and
grey Frame indicators indicate the incremental frame difference, depending on what tool you are using.
- Move tool: The grey frame indicator shows how many frames the clip has moved relative to its last position.
- Trim tool: The grey frame indicators show how many frames have been trimmed.
- Scale tool: The grey frame indicators show what percent the clip has changed since scaling.
- Loop/Hold Tool: The grey frame indicators show the multiple of the clip's length in the Loop/Hold region. (1.00x means the looped/held region is as long as the original clip.)
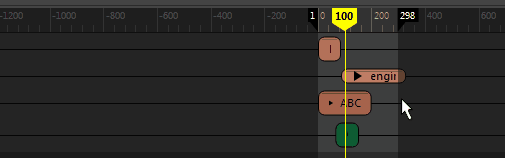
- Pan and Zoom
- You can use the same hotkeys to pan and zoom in the Time View as you do in the Maya viewport.
-
- Pan: press
Alt (or
Option on Mac) + middle-drag.
- Zoom: press
Alt (or
Option on Mac) + right-drag. Zooming is centered based on the location of the mouse cursor.
- Pan: press
Alt (or
Option on Mac) + middle-drag.
- Frame Clips
- You can use the same hotkeys to center clips in the Time View as you do in the Maya viewport.
-
- Frame all: press
A
- Frame Selection: press
F
- Frame playback range: press
G
- Frame all: press
A
- Scrub animation
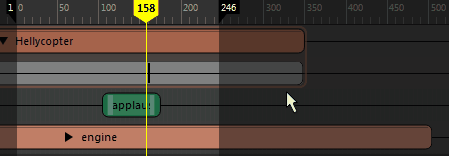
- Drag the Current Time Marker along the Time Ruler or in the Track View to locate a particular section of animation.
-
- To scrub along the Time ruler at the top of the Track view, drag the Current Time Marker left or right.
- To scrub in the Time view (below the Time ruler), press
K to release the cursor lock. (The cursor is locked from scrubbing in the Time view to prevent unintentionally moving clips.)

- To scrub along the Time ruler at the top of the Track view, drag the Current Time Marker left or right.
- Resize the Playback range
- On the Time Ruler, click on the edge of the dark region and drag to change the playback range. Stretch the playback range in the time view by dragging the flags on the Time ruler. See
Time Editor Play Range.
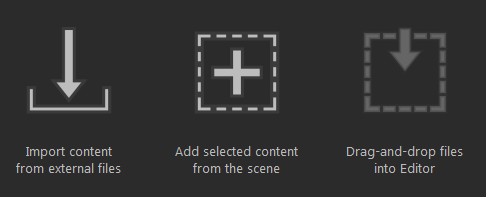
- Adding Animation
- The Time Editor Startup icons appear each time you open the Time Editor in a new Maya session. They are included so you can get up and running with animation in the Time Editor quickly.
-