
The Falloff property controls the profile (cross-section) of sculpt tools. The falloff curve determines how the tool strength diminishes from the center towards its outer edge.
Depending on how you set the falloff, your sculpt strokes can feather off gently, blending smoothly with the surrounding surface, or appear with a sharp edge. These examples show different falloff curves and the resulting sculpt stamp on the surface. The falloff curve is always symmetrical.

To adjust the shape of the falloff curve
- Select the sculpt you want to modify.
- In the window, expand the Falloff heading.
-
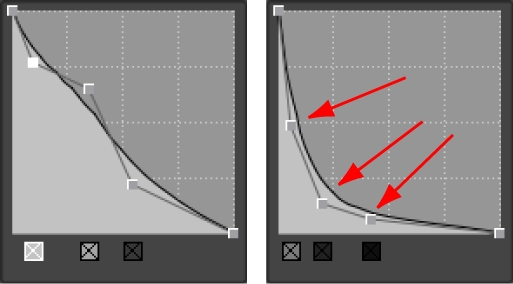
- To move points, simply drag them.
- To insert new curve points, click anywhere on the curve when cursor displays an add symbol
 .
. - To delete points, click the corresponding delete handle
 at the bottom of the curve view, or Ctrl-click points directly. (The cursor displays with a red x
  when deleting points.)
 To help you distinguish between points that are close together on the curve, the delete handles display in shades of grey. The darker the delete handle, the higher the point on the Y axis.
Tip: For an expanded view of the curve, click  next to the falloff curve image to open a larger Falloff Curve editing window.
next to the falloff curve image to open a larger Falloff Curve editing window.