Create and Update Exchanges
Create an Exchange
This topic details how you can create exchanges from Tekla Structures using the Autodesk Data Exchange Connector for Tekla and update the exchanges after making changes to the Tekla Structures model. Following are the steps to create an exchange from Tekla Structures Active Document.
Open Tekla Structures Desktop software.
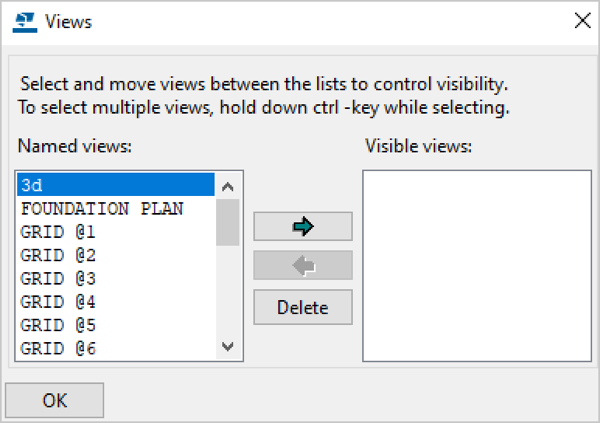
Select 3d view and click OK.
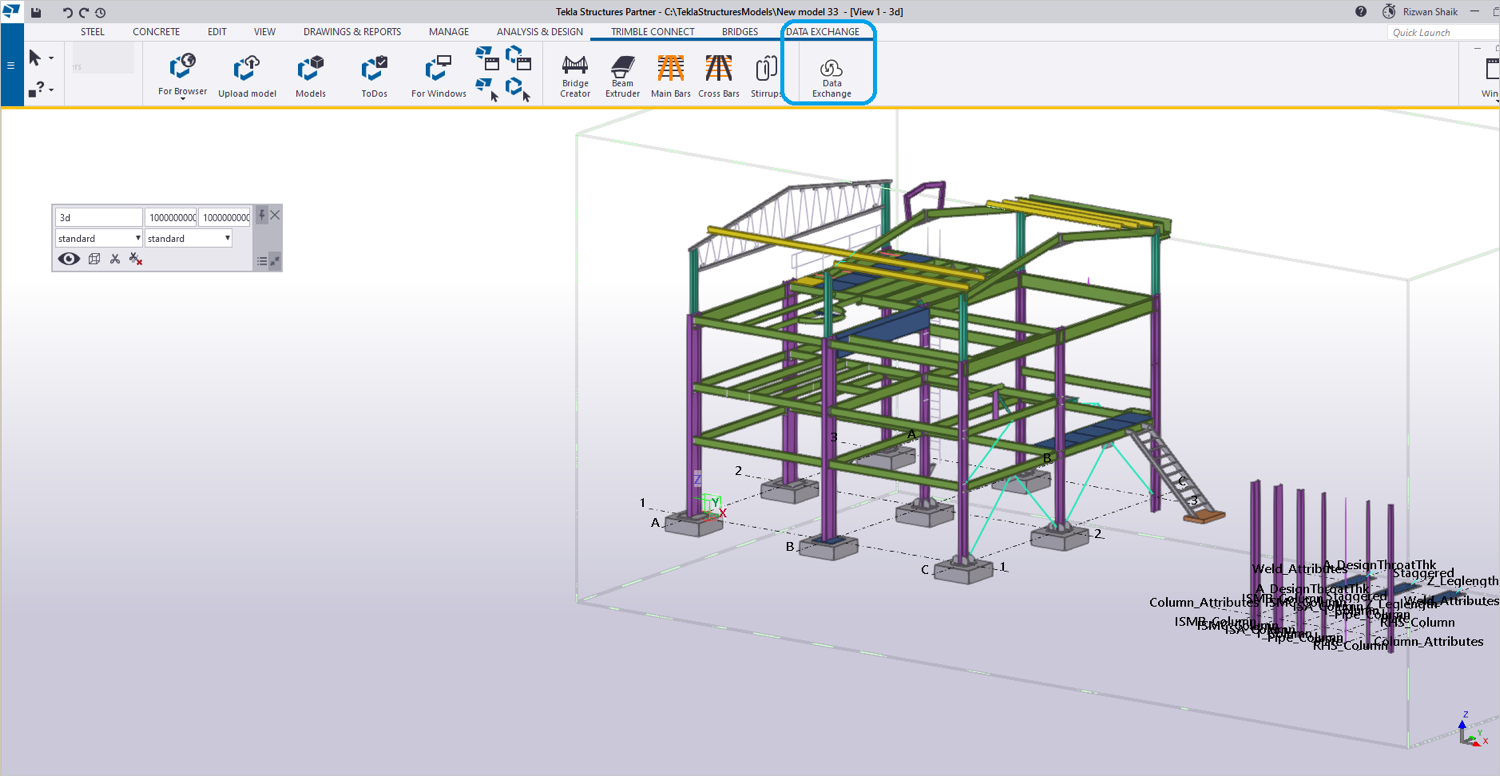
Click Data Exchange under the DATA EXCHANGE tab.
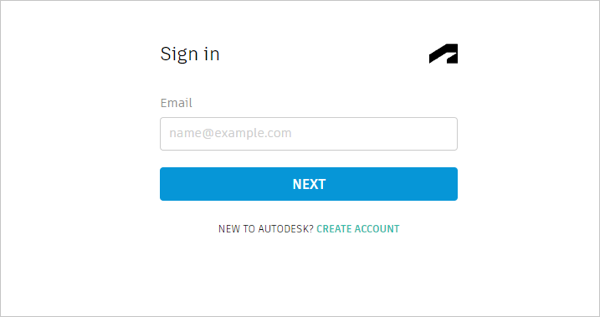
Sign in to the Autodesk Construction Cloud using your Autodesk credentials.
After successfully signing in, return to the Tekla Structures software.
If a latest version of your connector is available, you will receive a notification.

To download the latest connector version, click Help menu and select Check for Updates. This will redirect you to the download link.
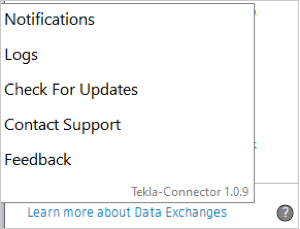
To manually check for updates, click Help menu and select Check for Updates. This will redirect to the download link, or you will see a "no updates available" notification.

Click Create exchange when the connector interface opens.
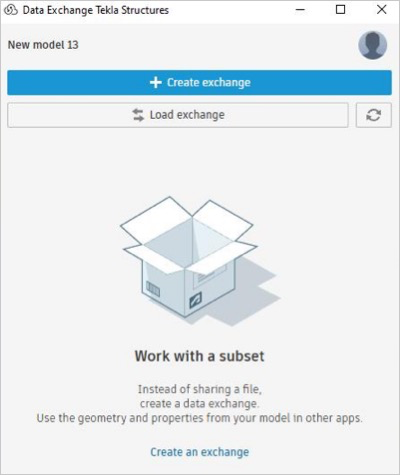
Enter the following:
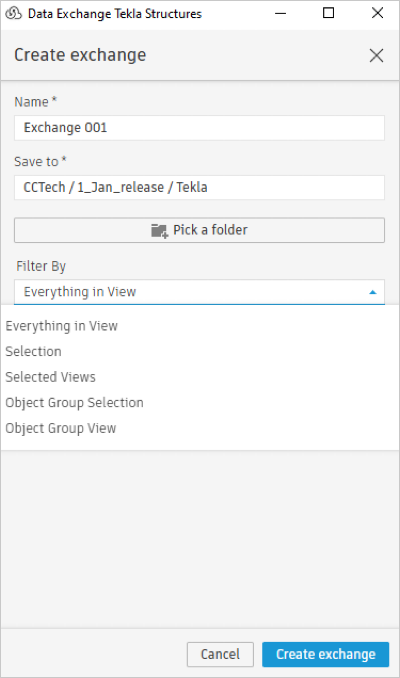
- Name: Enter a name for the exchange.
- Save to: Select a folder in Autodesk Docs to save your exchange.
- Filter By: Select the required filter from the following options.
- Everything in View: Exports all objects visible in the current model view. (all objects seen in 3D View – Entire Model)
- Selection: Exports only the objects manually selected in the model. (Selected 5 beams and 2 columns in the model space)
- Selected Views: Exports objects from specific views that are selected.
- Object Group Selection: Exports objects from a predefined object group. (All beams, all columns)
- Object Group View: Exports objects that belong to a specific object group and are visible in a particular view. (Level 1 Slabs group visible in Level 1 Plan View)
If View option is selected from Filter By dropdown menu, View Selection dropdown menu is visible. Select the view from which exchange to be created.
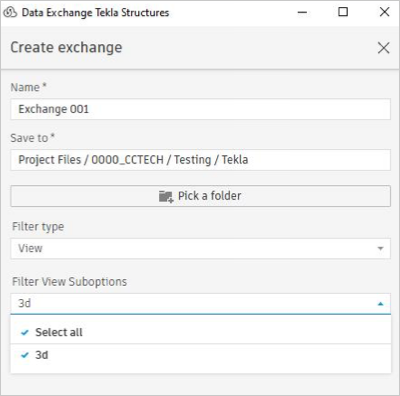
Click Create exchange.
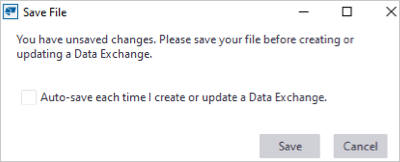
If there are unsaved changes to your model, save the changes in Tekla Structures software before you proceed to create an exchange. Otherwise, you will be prompted to save your changes before the exchange is created. You can enable the Auto-save function to automatically save your changes.
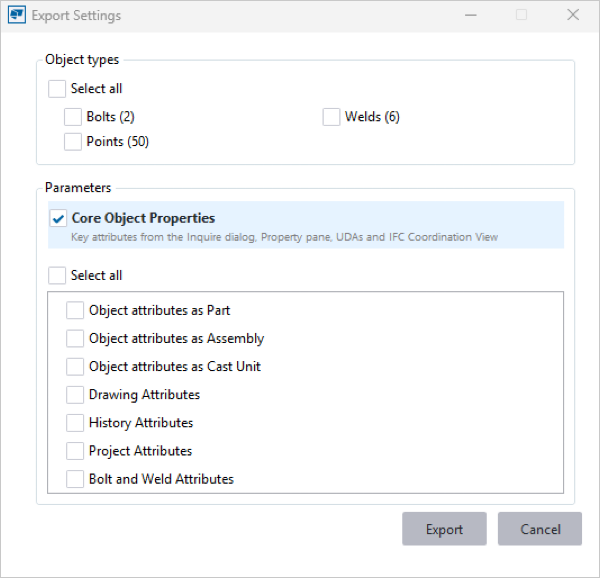
Select the specific attributes you want to export with the exchange from Export Settings and click Export.
It is recommended to use the Core Object Properties option for Parameters, as it includes a curated set of parameters from the following sources:
- IFC Coordination 2.0 default parameters
- Parameters visible in the Properties panel.
- Parameters from the Inquire dialog as part and as assembly
- User Defined Attributes
The element count shows the actual element count for your reference.
The progress bar shows up file generation progress.
The exchange creation process can be canceled at any time by clicking the Cancel button.
If the model contains unsupported or failed elements, they are now automatically captured in a detailed HTML report. After the workflow finishes, the interface shows a notification with a clickable link to the report.
You can see the skipped elements report in the logs folder. "C:\Users%Username%\AppData\Roaming\Tekla-Connector-
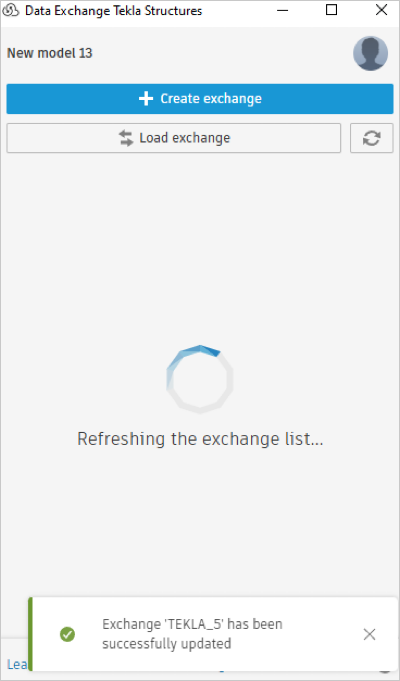
\Logs\SkippedElement-Reports" After the exchange is created successfully, you can view the new Data Exchange listed in the connector interface with details such as the name, version, date, and time.
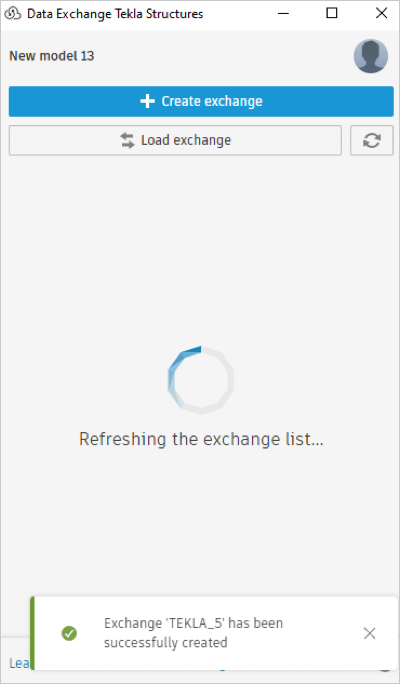 Note: The up-arrow button besides the exchange indicates that you created it using your Tekla Structures model. If you modify your model locally, then you can update the exchange with the latest changes.
Update an Exchange
You can update your exchange with the latest changes you have made to the Tekla Structures 3D model and its properties.
Make changes to the Tekla Structures model.
Save the changes in Tekla Structures software.
Click Data Exchange under the DATA EXCHANGE tab.
Select the exchange in the connector interface.
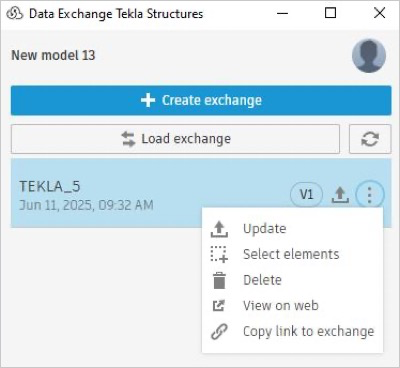
Click More menu and click Update from the drop-down list.
If there are unsaved changes to your model, save the changes in Tekla Structures software before you proceed to update an exchange. Otherwise, you will be prompted to save your changes. You can enable the Auto-save function to automatically save your changes.
Select the specific attributes you want to export with the exchange from Export Settings and click Export.

It is recommended to use the Core Object Properties option for Parameters, as it includes a curated set of parameters from the following sources:
- IFC Coordination 2.0 default parameters
- Parameters visible in the Properties panel.
- Parameters from the Inquire dialog as part and as assembly
- User Defined Attributes

The progress bar shows up file generation progress.
The exchange updating process can be canceled at any time by clicking the Cancel button.
If the model contains unsupported or failed elements, they are now automatically captured in a detailed HTML report. After the workflow finishes, the interface shows a notification with a clickable link to the report.
You can see the skipped elements report in the logs folder. "C:\Users%Username%\AppData\Roaming\Tekla-Connector-
\Logs\SkippedElement-Reports". The exchange will update to the latest version, with the latest changes (for example, V1 to V2).
