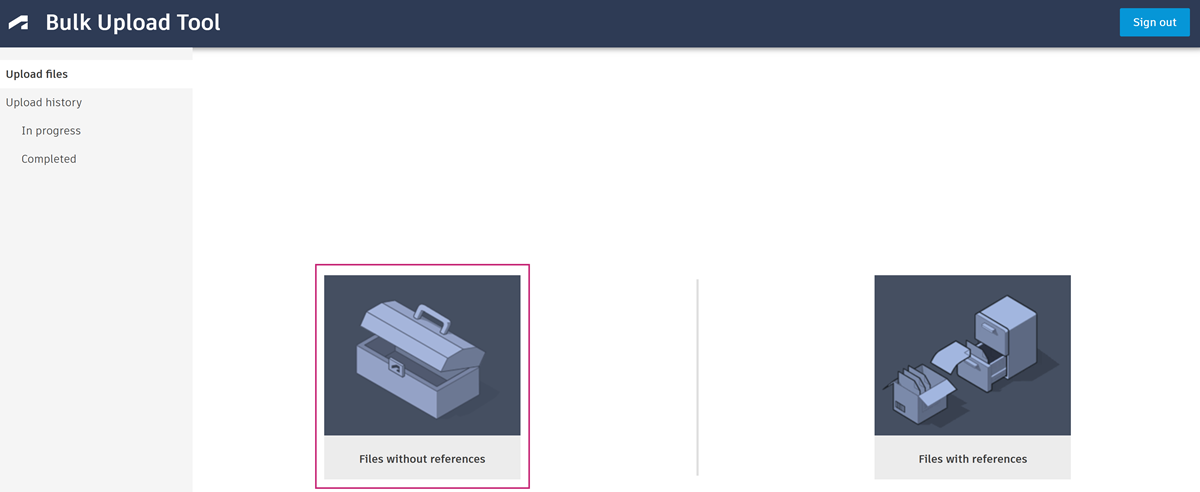
Upload Files Without References
Local project folders and their files can be uploaded to the Files tool while preserving the folder structure. If your project contains AutoCAD or Civil 3D references, use the Files with references option instead to maintain those references.
Uploaded files need to be supported by the Files tool. See Supported Files on Web to see supported, viewable, and unsupported file types.
Open the Bulk Upload Tool.
Click Files without References.

Click the Source local folder icon.
Select the local folder containing the files that you want to upload.
Note: The upload needs to include at least one file.Click Select folder.
Click the Target project folder icon.
Select the relevant account, project, and project folder. You can't upload to a folder with a naming standard applied.
Click Select.
Click Validate.

The validation process checks that the folders and files in the JSON file adhere to the limitations of the Files tool in ACC. See Supported File Types and Limitations help topic for details about limitations.
Note: Validation only checks the local source folder and subfolders. If the contents of the target folder or relevant Deleted items in Docs makes the upload exceed the limitations, the upload will pass the validation check but fail on upload.If you see validation errors, you need to resolve these errors in the files and folders on your desktop, or the upload will not be allowed to proceed.
If you only see validation warnings, you can choose to ignore the warning and continue to Upload.
See Bulk Upload States and Errors for validation errors, warnings, and their descriptions.
Click Upload when you see Validation successfully completed, or choose to ignore the validation warnings.
The tool will prepare and create your upload. This includes getting the upload ready, and storing the information in the database.
When this is completed, you'll see the Upload created dialog.

Click OK.
The files will go through preprocessing then move to the In progress tab. See In Progress and Completed Uploads Details for details about the progress of your upload.
