
To insert components into a component road assembly
Add components to any component road assembly using in-canvas editing tools. You can also replace an entire assembly.
- Select a component road.
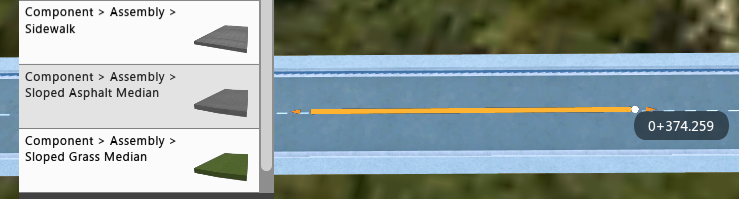
- Right-click the component road and click Insert Road Component.
- Select a component style from the catalog that appears.
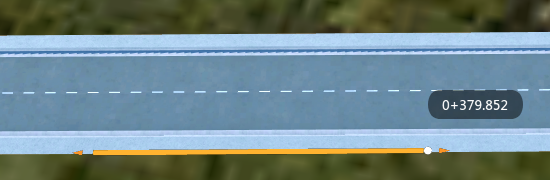
- Hover your cursor over the roadway and use the orange placement guide to choose a seam between components as the starting location for the new component.
Between the road sidewalk and the model terrain.
Between lanes, for instance, if you want to add a median.
Between the sidewalk and the curb.
Single-click to place the component on the roadway at the location of the orange guide.
Components are placed with a default length of 30 meters.
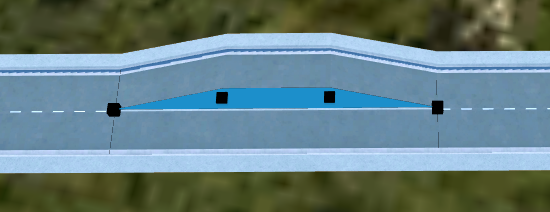
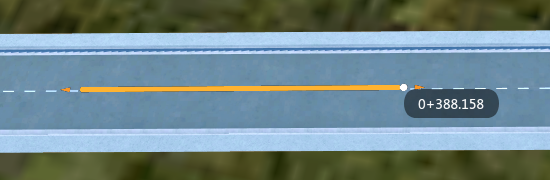
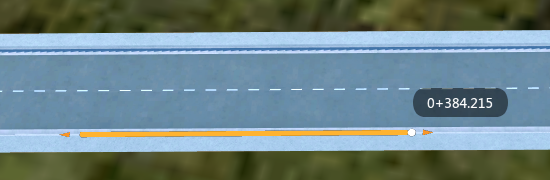
You can manually adjust the new component using the in-canvas control grips and mini-toolbar. Click and drag a black control grip to manually adjust the length of the component on the roadway. You can also input exact values in the mini-toolbar.
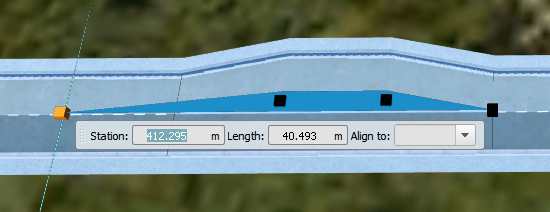 Note: You cannot shorten a component to less than 2m total length.
Select a black control grip on the start or end point of the new component, and toggle the Align to drop-down menu.
Depending on which control grip you choose, you can align that point of the component to the start or end point of the entire component road assembly. This is useful for adding components that you want to span the entire length of the roadway.
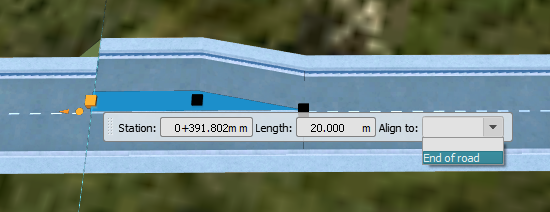
Repeat for the other end of the component so that it spans the entire length of the roadway.
