
To add or modify component road transitions
You can create and adjust linear road transitions in component roads. Road transitions are not supported for planning roads.
By default, transition start and end points snap-to the seams between directly adjacent components along the length of the component roadway, or the seam between the outer edge of the component road assembly and the model terrain.
- Select a component road.
- Insert, select, or split components in the component road
To insert a component, right-click and choose Insert Road Component
To select a component, single-click a component within the already selected road
To split a component, first select the component, then right-click and choose Split Component
Note: In most cases, when you insert a new component into a component road assembly, its start and end points will taper into points and snap to the seam between adjacent components. However, tapered road transitions are not supported at the start or end point of a roadway.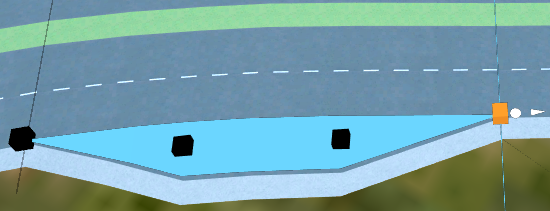
Right-click on the component, and checkmark the Transition In and/or Transition Out boxes depending on your project needs.
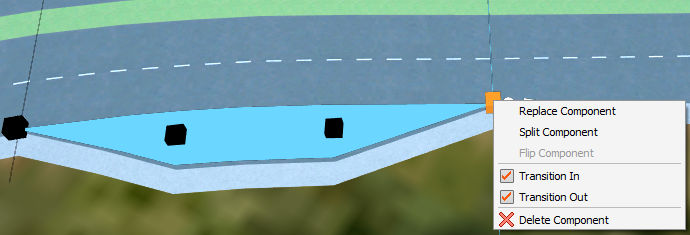
- Transition In creates a linear, tapered transition at the start station of the component you selected.
- Transition Out creates a linear, tapered transition at the end station of the component you selected.
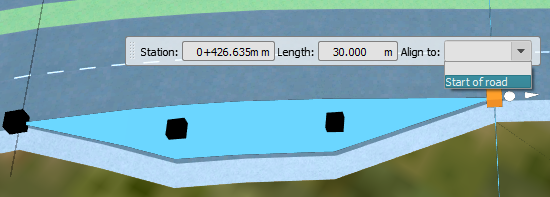
Click and drag any of the control grips to adjust the length and taper of the road transition. You can also use the Align to drop-down menu in the mini-toolbar to align a component to the start or end point of a roadway, at full width.
 Note: Road transitions that cross the roadway centerline are not supported.