
To replace a component road assembly
Replace the assembly style for any section of a component road. You can also insert or modify individual components in a component road assembly.
Select a component road.
Right-click and click Replace Assembly.
Note: You can also insert individual road components instead of replacing the entire assembly.Select an assembly from the catalog that appears.
Note: Create and re-use custom component road assembly configurations to simplify your workflows.Hover your cursor over the roadway and use the orange placement guide to choose a starting location.
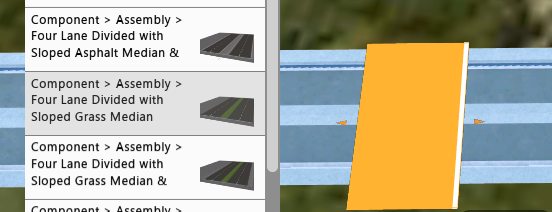
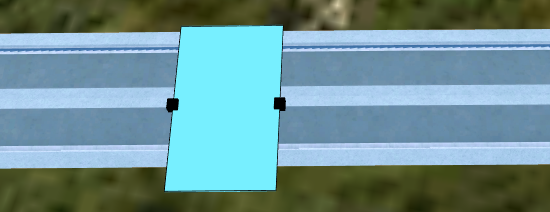
Single-click to replace the assembly style at the location of the orange guide. The destination for the new assembly section is now selected, and highlighted cyan blue.
 Note: Assemblies are inserted with a default length of 10m. Minimum supported assembly length is 2m.
Click and drag a black control grip to manually adjust the length of the assembly style along the entire component roadway. Or, input exact values in the mini-toolbar.
You can also select a black control grip, then toggle the Align to menu to align that point of the assembly to the start or end point of the entire component roadway. This is useful for replacing assemblies along the entire length of a roadway.
