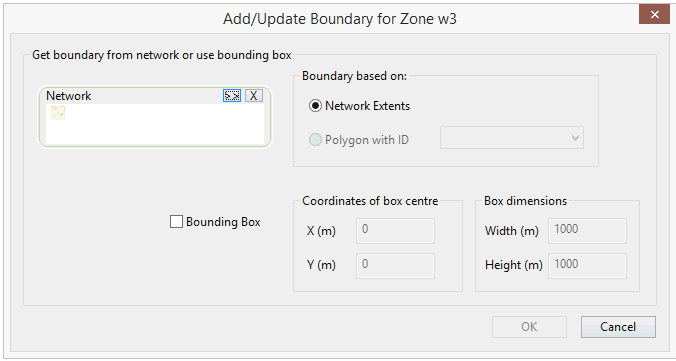
Use this dialog to add or update a GeoExplorer zone froma network or by defining a bounding box.
See Update GeoExplorer Zone Boundaries for details.
To display the Add/Update Boundary for Zone dialog
- A Model Group, Network or Workspace is dragged onto the GeoExplorer Window.
- The Update Zone Boundary menu item is selected from the GeoExplorer Zone Grid View. Right click in a cell in the grid view of the zone to be updated to display the menu.

To update a zone boundary using a network, use drag and drop or the Browse button to add a network to the selection box
- Select the option to be used for creating the boundary:
- Network Extents: a zone boundary will be created based on the outermost network node locations.
- Polygon with ID: select a network polygon from the drop-down list. A zone boundary will be created based on the network polygon boundary.
- Click OK to update the zone boundary.
To define a bounding box as the zone boundary
- check the Bounding Box option:
- Define the Coordinates and dimensions of the bounding box.
- Click OK to update the zone boundary according to the defined parameters.
Note: If a network is used to update an existing zone by dragging the network item to the
GeoExplorer Window, the Bounding Box options will not be available on the dialog.
