Rendering with Ambient Occlusion - Arnold for Maya
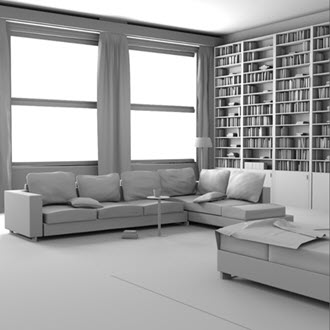
Ambient occlusion and direct light render combined using post-processing software
An alternative technique to lighting a room is to use Ambient Occlusion. A typical workflow is to composite the Ambient Occlusion render onto a Diffuse rendered image that does not have any Diffuse Rays. The advantage is that it is typically faster to render and can give more creative control when compositing. You will also not need to add any Diffuse or Specular rays to the scene. However, it is not a physically accurate method and some experience with compositing is required to fine-tune the final look.
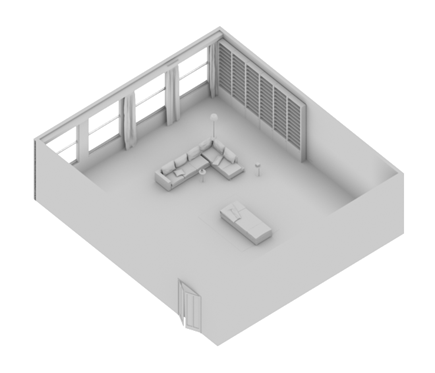
Ai Ambient Occlusion shader
- Start by creating an Ambient Occlusion shader and assign it to the room geometry. Increasing the Samples of the Ambient Occlusion shader to around 8 will reduce any noise associated with this shader.
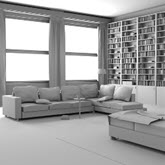
- Render the scene using the Ambient Occlusion shader. It should look like the image below:
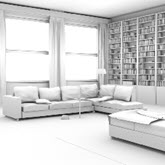
Rendered using only the Ambient Occlusion shader
Direct lighting render
- Now render the scene using direct lighting only (in this case area lights have been positioned outside the windows, but you could try other lights such as the Skydome Light. However, in this case ensure that Diffuse Samples are set to 0. You should notice when you render the scene that there is no bounced light and the back wall will be black. We will use the Ambient Occlusion in Nuke to 'fill in' the areas that have no bounced diffuse light.
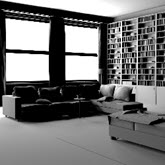
Direct light (Indirect 0).
Composite
- Open both renders in Nuke. Create a merge node and connect the Ambient Occlusion render to the 'A' input and the Direct light to the 'B' of the 'merge' node. Make sure the 'Operation' is set to 'Over'. Adjust the 'mix' to around 0.5. You should notice the Ambient Occlusion appear in the black areas of the 'Direct light' image. It should be obvious that we are in effect 'cheating' the use of bounced light using Ambient Occlusion.
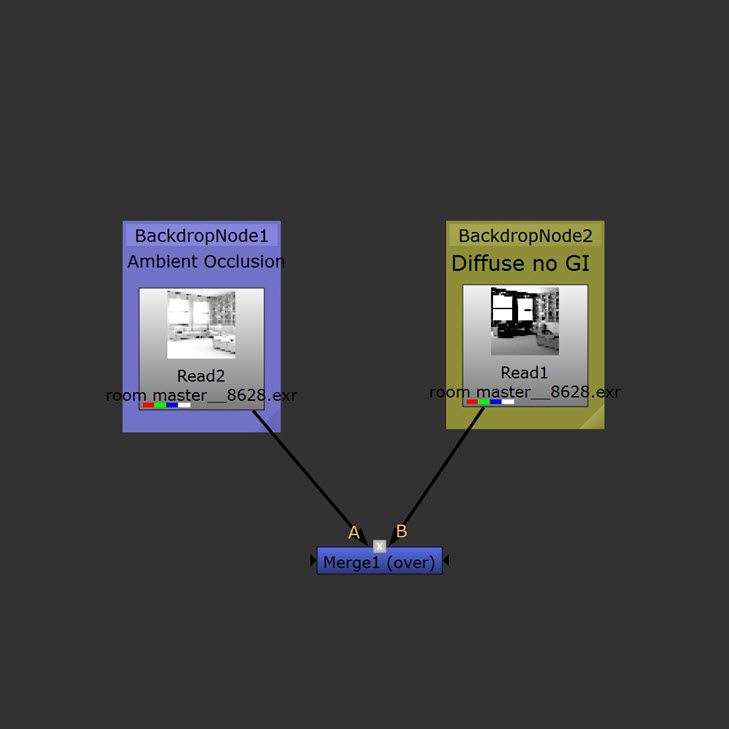
Ambient Occlusion render merged with diffuse render (no GI)
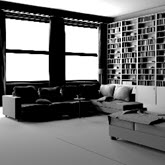
The images below show the results of merging (over) the Ambient Occlusion render onto the diffuse lighting (without GI) render. The benefits are that it is reasonably fast to render and does not contain any GI noise.
 |
 |
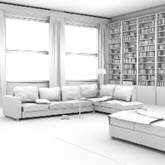 |
| Ambient Occlusion and direct light render merged together | Ambient Occlusion render | Direct light (Indirect 0) |
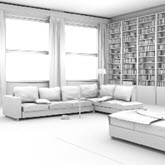
The images below show the result of rendering using an Ai Utility shader set to Flat color, merged with the ambient occlusion AOV. This renders very quickly, however, the results are far from photo-realistic.
 |
 |
 |
| Ambient Occlusion | Utility shader set to flat color | Ambient Occlusion and Utility shader merged together |
