
Applying Selective Lighting
When you add a light source to a scene, the light is applied to all surfaces. You may want a light source to only illuminate an individual or specific group of surfaces, or prevent a light source from illuminating an individual or specific group of surfaces.
To apply selective lighting:
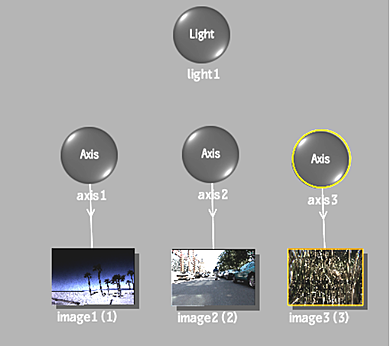
Add multiple surfaces to the scene.
Add a light to the scene.
All surfaces are illuminated.
Select Light Link from the Tools drop-down.
To illuminate only a selected surface, click the light node, and drag it to an axis or image you want illuminated.
The selected object is connected to the light source by a blue dotted line with an arrow, and only the selected surfaces are illuminated.
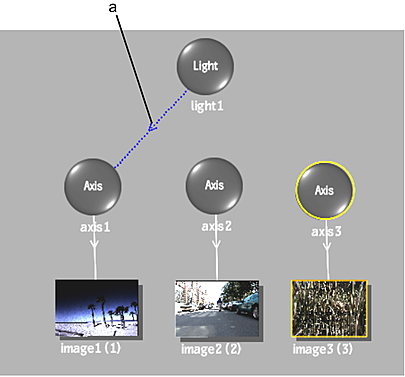
(a) Light inclusion link
To exclude a surface, hold the Alt key while clicking and dragging from the light source to the surface you do not want illuminated.
Excluded surfaces are connected to the light source by a red dotted line with an “X”, and they are not illuminated. In the following example, all surfaces are illuminated, except for image3, which is excluded.
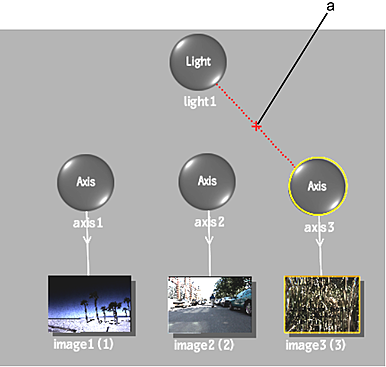
(a) Light exclusion link