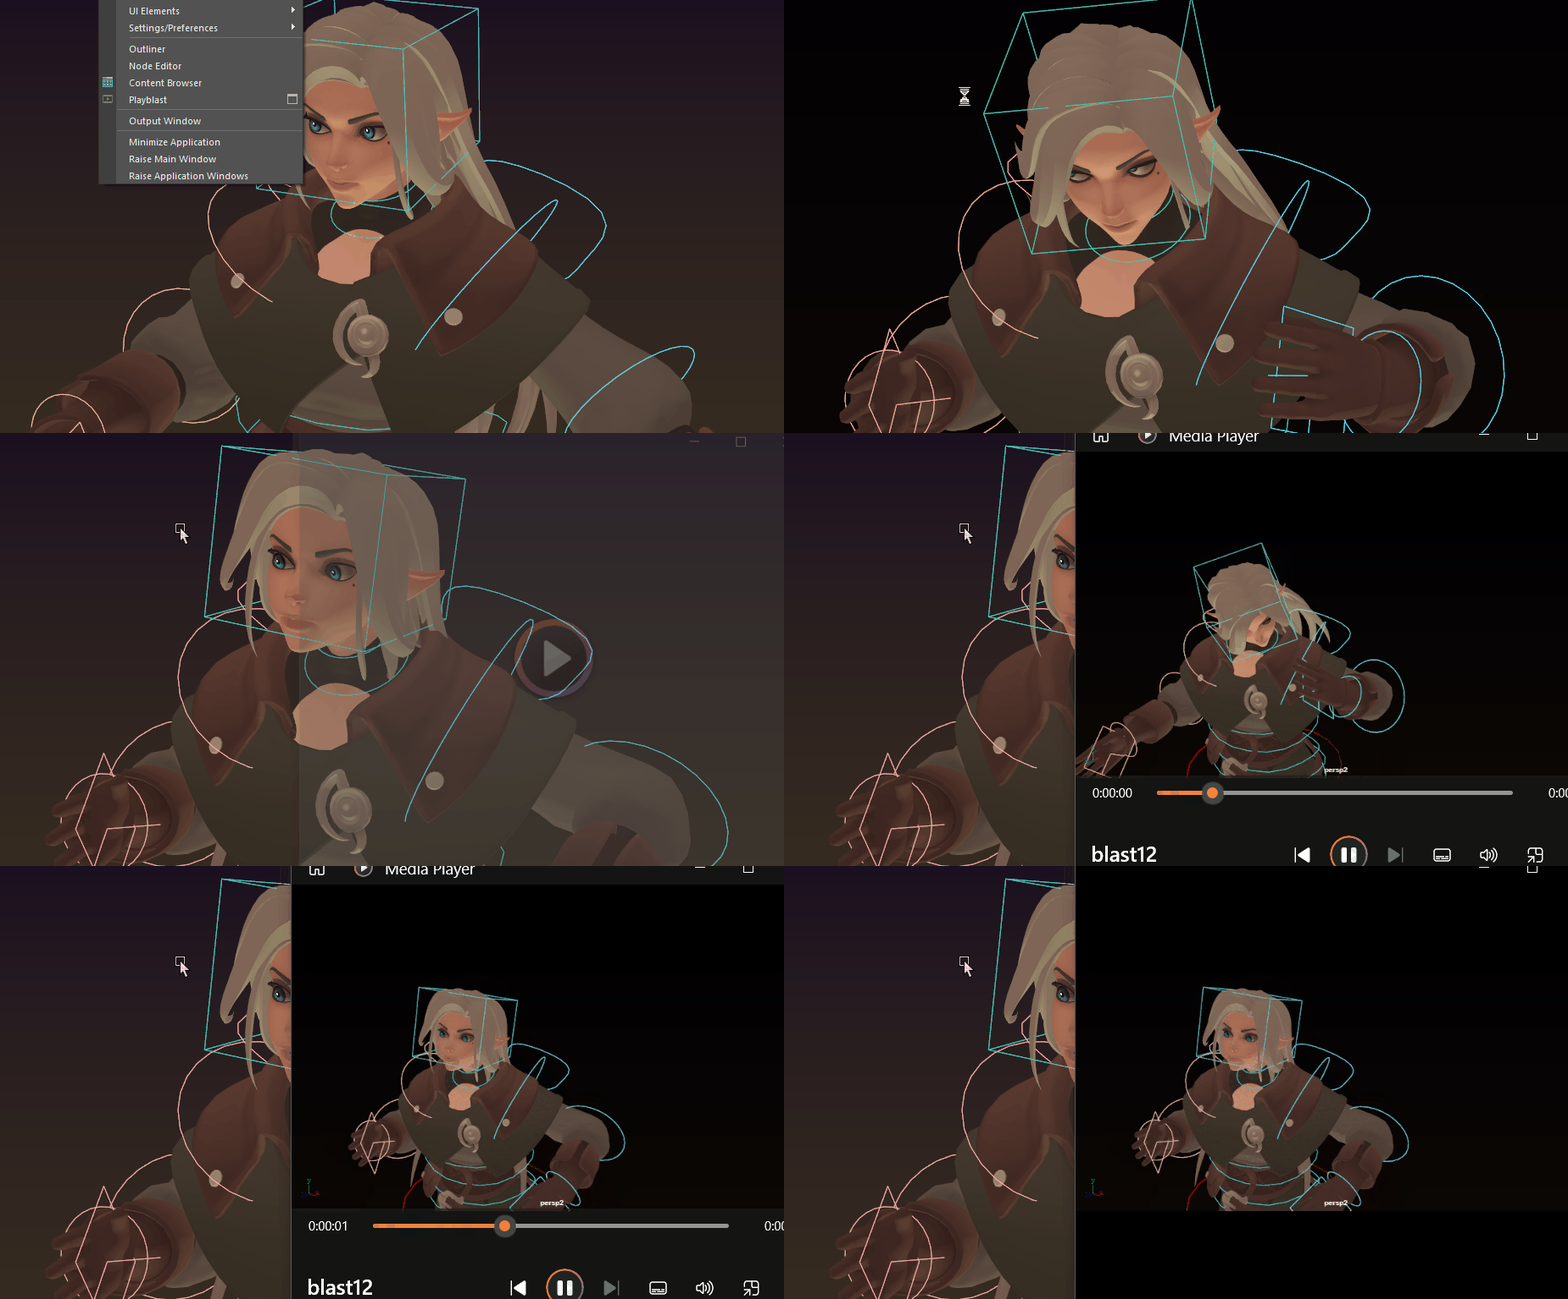
To playblast animation:
- In the Animation menu set (F4), select
- Using
Animate in Context, click the
Playblast
 icon in the
Cut Slider.
A Playblast is a quick preview that lets you make a "sketch" of your animation, providing a realistic idea of your final render result without requiring the time needed for a formal render. Playblasting lets you evaluate your work on the fly by taking a screen grab of the animation at each frame during playback, and then “blasting” those images to an image viewer.
By default, Playblast generates a movie or images using the active view and the current time range in the Time Slider to determine the animation range. The default scale is 0.5, which makes the Playblast image resolution one quarter the size of the active view.
Playblast file location
By default, playblasted movies are saved to your Movie project location. (The default location is: C:\Users\<currentuser\Documents\maya\projects\default\movies, but you can set a new location in the Project Window.) If there are multiple directories set in the Movie project location, Maya uses the first location listed. You can also change the Directory in the Playblast Shot Options or Playblast Sequence Options to change where movie files are saved.
The Camera Sequencer also lets you produce movie clips to previsualize a sequence of camera shots. After you set up the series of shots to ‘film’ your animation, you can quickly playblast a rendered movie of the sequence. See Camera Sequencer and Playblast camera shots.
To playblast an animation sequence
- (Optional) To disable, re-enable, or use a specific output transform for a color-managed scene, set the Apply Output Transform to Playblast and corresponding Output Transform option in the Color Management preferences.
- Select
Playback > Playblast >
 to open the
Playblast Options.
- Select the
Format for the playblast output.
Tip: To create an image sequence instead of a movie, select image.
- (Optional) Select the codec or image format that you want to use from the
Encoding drop-down list.
Tip: Set Encoding to global to use the same format that you have specified in the Render Settings: Common tab.
- If you're playblasting a movie, set the compression Quality value you want.
- Set Display Size to From Window.
- Click in a view to make it active.
- Click
Playblast.
The scene plays in the active view for the playback range in the Time Slider. After each time frame is drawn, Maya takes a screen grab of the active view.
Depending on your platform and which output Format you selected, a new window opens and previews the playblasted animation.
Tip: If a sound file (or files) is displayed in the Time Slider while Playblast is running, and a movie file type is the output Format, the sounds are included in the resulting saved movie file. See Display audio on the Time Slider.
To output single frames of your animation to Playblast:
- Use the
-frame flag with the
playblast MEL command.
For example:
playblast -frame 1 -frame 4 -frame 7
outputs frames 1, 4, and 7 of your current animation to Playblast.
For more information, see MEL Command reference.
To cancel a playblast
Press Esc.
To run Playblast when Maya is minimized on your screen
- Turn on Render offscreen in the Playblast Options.
- Use the -os/offScreen flag with the MEL command.
Do either of the following:
For more information, see MEL Command reference.
Setting Gamma and Exposure levels for a Playblast

Gamma and Exposure settings in the Panel Toolbar
The Gamma and Exposure settings in the Panel Toolbar affect your Playblast output. Exposure lets you adjust the brightness for the scene and Gamma adjusts the contrast.
Playblast with stereoscopic cameras
Playblast is supported for stereoscopic cameras. However, you must install an external stereoscopic player to preview the animation instead of using FCheck. Otherwise, if you use a viewer without stereoscopic support, the viewer only displays the last camera rendered out instead of both the left and right stereoscopic camera output.
After installing the external stereoscopic player, you must enter the application path under Application preferences in Windows > Settings/Preferences > Preferences. Use %f to point to the images/movie for the left camera, and %f2 to point to the images/movie for the right camera.