
Generate text embossing or impressing on part surface
- Select the part to be labeled.
- Choose
Modify > Enhance >
 Generate label >
  Text.
Text.
- Click on the part to place the label.
- Click Apply to accept.
- Click Yes to remove the old part or No to keep the old part and the newly labeled part.
Options
Use the options to adjust the appearance of the text label.
- Use the Caption field to specify your own text the label. By default, the part name is used as the label text.
- Click and drag the
blue nodes of the label to adjust the position, rotation, and size of the label.
Tip: Use the Ctrl key and the corner node to adjust the orientation without affecting the size. Use the Shift key and the corner node to adjust the size without affecting the orientation.
- Click the ellipsis button to open the dialog to adjust the
font,
style, and
size of the label text.
Tip: The size of the font affects the triangle resolution with which the letters are converted into triangle mesh. Increase the font size to have the letters generated with smoother contours.
- Choose a build type from the drop-down menu.
| Position | Rotate and resize | Rotate | Resize |
|---|---|---|---|
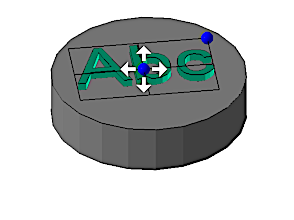
Drag the center anchor to position the stencil on the part |

Drag the corner anchor to change size and orientation freely |
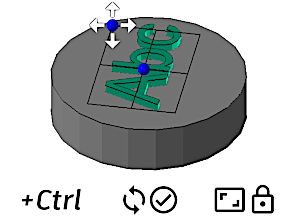
Hold Ctrl to rotate the stencil without changing the size |

Hold Shift to change the size without changing the angle |
| Add to Part | Add to Part (inverted) | Subtract from Part | Subtract from Part (inverted) |
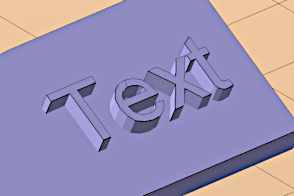
Makes the label stand out from the part |
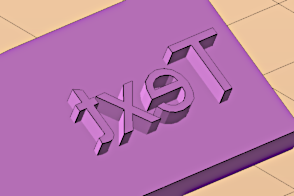
Makes the label stand out from the part, and mirrors the text |
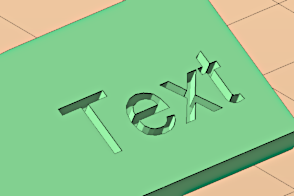
Sinks the label into the part surface |
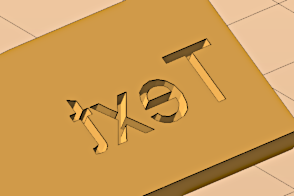
Sinks the label into the part surface, and mirrors the text |