
Use a primitive to control the orientation of the projected texture
- In the buildroom or the project tree, select the part.
- From the main menu, choose
Modify >
 Texture and color.
- From the
Texture and color menu, choose
 Project texture.
- In the context area, browse for a file containing the texture to project on the part
 or select an example texture.
- Select a projection primitive from the context view tabs.
- Align and orient the projection primitive using the axis sliders and/or by dragging the projection primitive by its blue anchors.
Tip: Hold the Shift key to adjust only the size. Hold the Ctrl key to adjust only the orientation.
- Click Project to apply the texture to the part.

Left: projector, middle: cylinder, right: sphere.
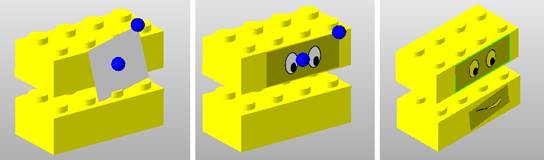
Left: the part with a preview of the texturing plane, middle: a preview of the texture, right: the textured part.
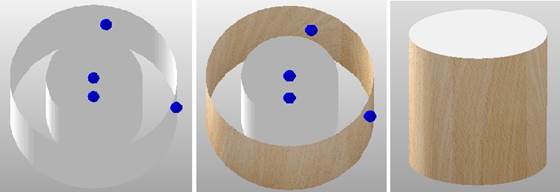
Left: the part with a preview of the texturing cylinder, middle: a preview of the texture, right: the textured part.

Left: the part with a preview of the texturing sphere, middle: a preview, right: the textured part.