Subsurface - Arnold User Guide
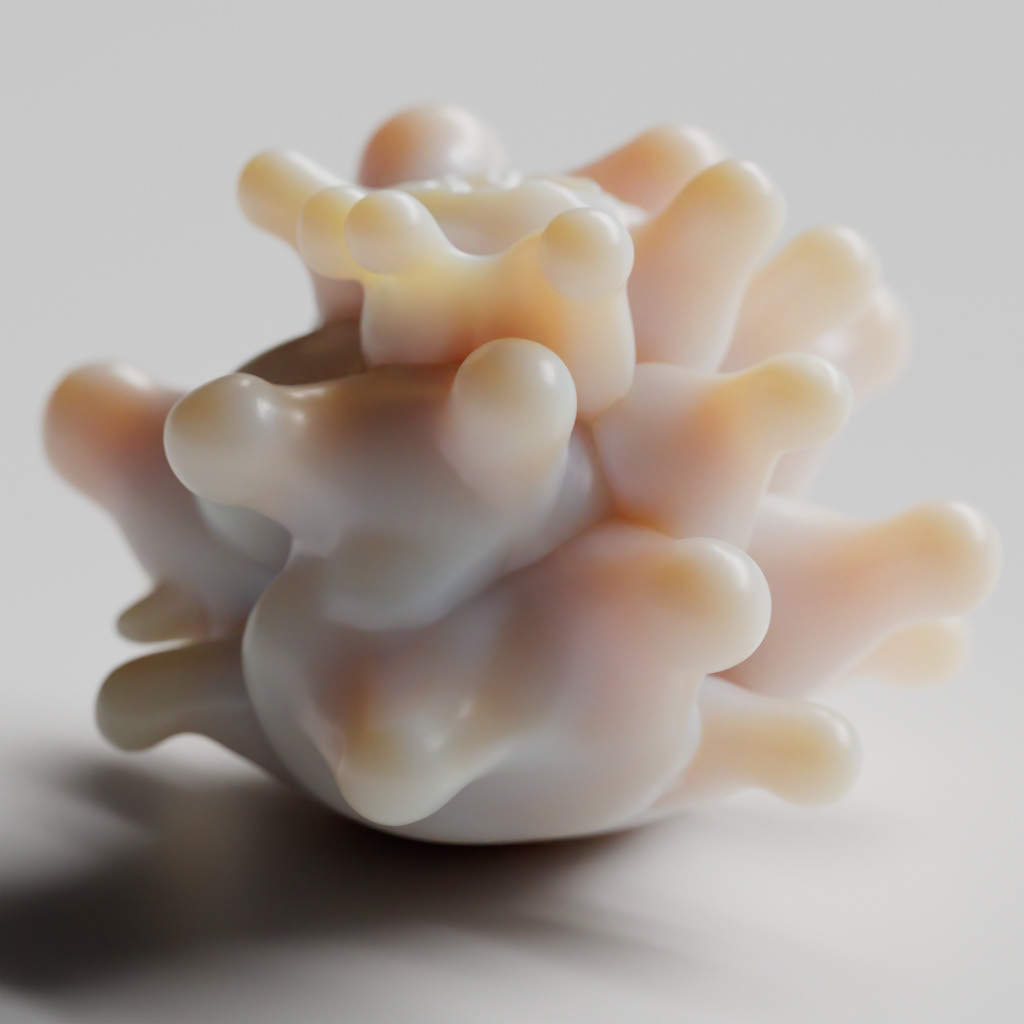
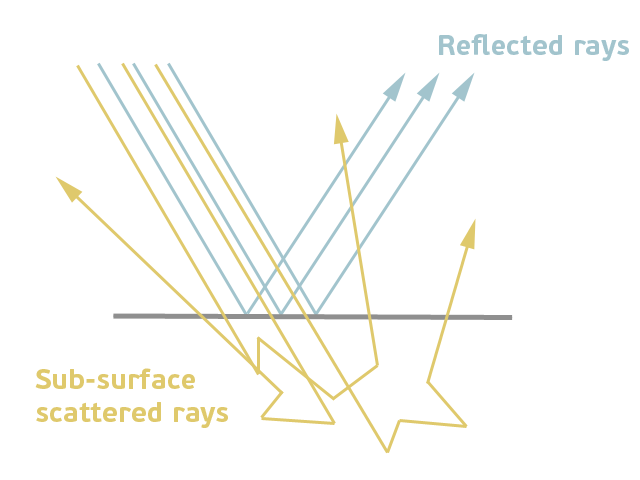
Subsurface scattering (SSS) simulates the effect of light entering an object and scattering beneath its surface. Not all light reflects from a surface. Some of it will penetrate below the surface of an illuminated object. There, it will be absorbed by the material and scattered internally. Some of this scattered light will make its way back out of the surface and become visible to the camera. This is known as 'sub-surface scattering' or 'SSS'. SSS is necessary for the realistic rendering of materials such as marble, skin, leaves, wax, and milk. The SSS component in this shader is calculated using a brute-force raytracing method.
SSS is not supported for particles (only for polymeshes).
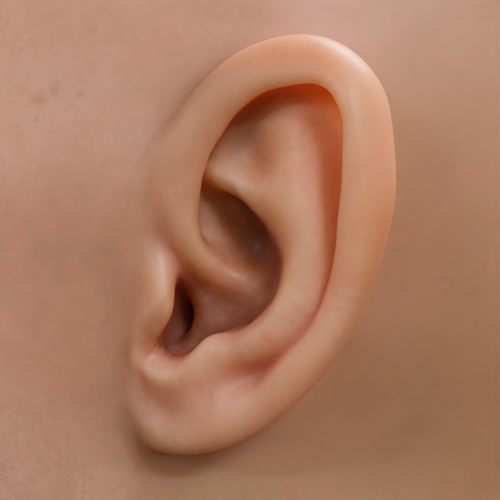
You must ensure that the geometry normals are pointing in the correct direction; otherwise, SSS will not render correctly.
 |
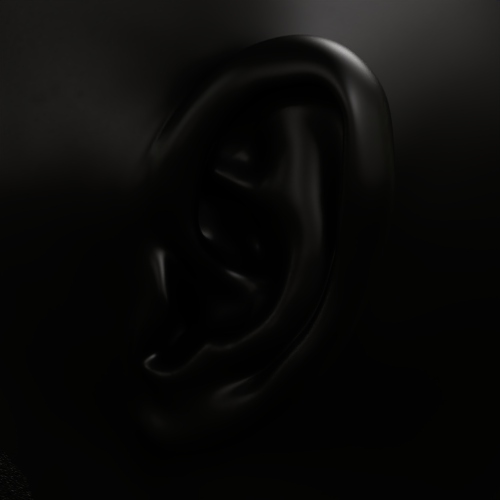 |
| Normals pointing outwards (correct) | Normals pointing inwards (incorrect) |
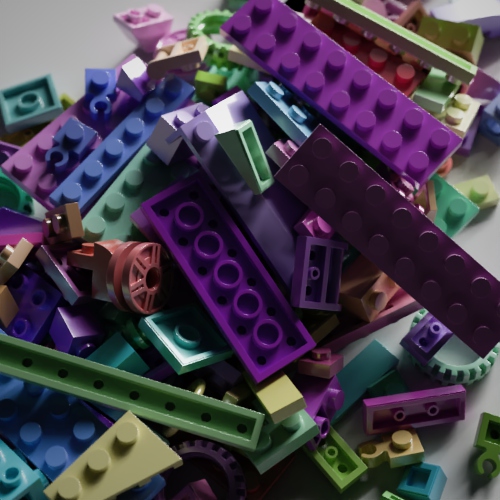
Subsurface scattering is important when replicating dense but translucent materials such as plastics, for example:
 |
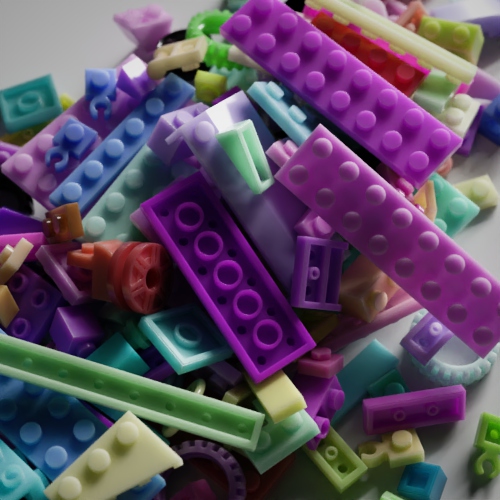 |
| Without Subsurface | With Subsurface |
Weight
The blend between diffuse and subsurface scattering. When set to 1, there is only the subsurface lobe, and when set to 0, there is only the diffuse lobe (Oren-Nayar). The blend between the two can be useful in some cases (e.g., skin rendering) to combine the blurry SSS lobe with the crisper diffuse lobe.
It can be used to mix in a different texture with a mask, for e.g. face paint, or to vary sharpness by connecting the same texture to both the Base Color and Subsurface Color and changing the blend factor.
 |
 |
 |
| 0 (default) | 0.5 | 1 |
Color
The reflection color of the subsurface scattering effect. The SSS medium is adjusted internally to produce this effective color after scattering.
Radius
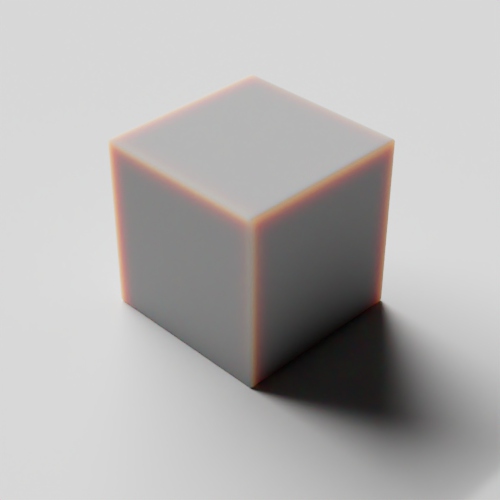
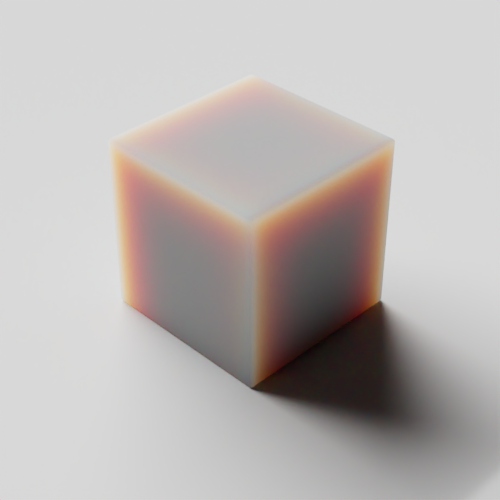
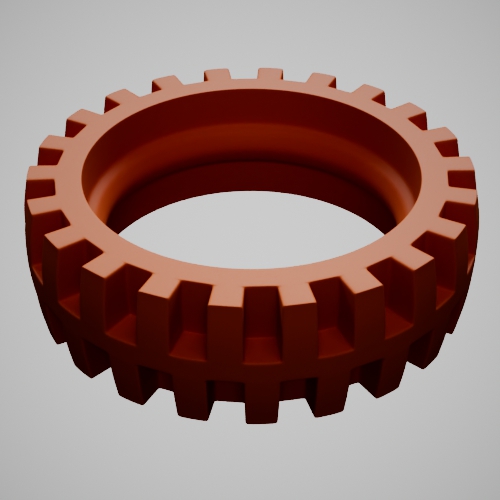
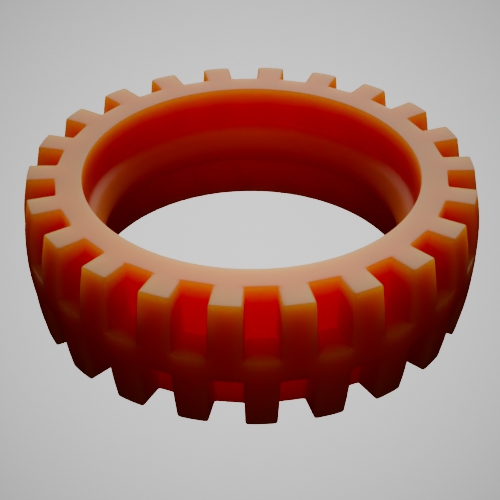
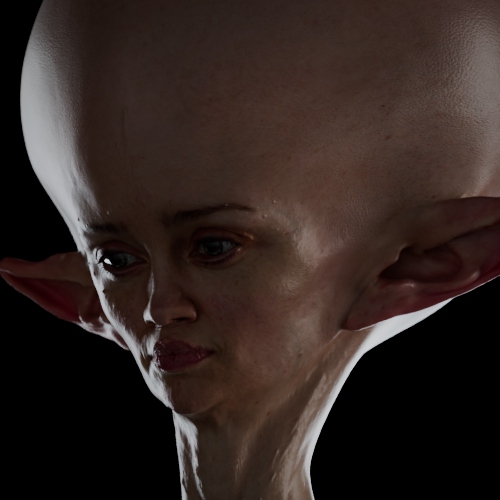
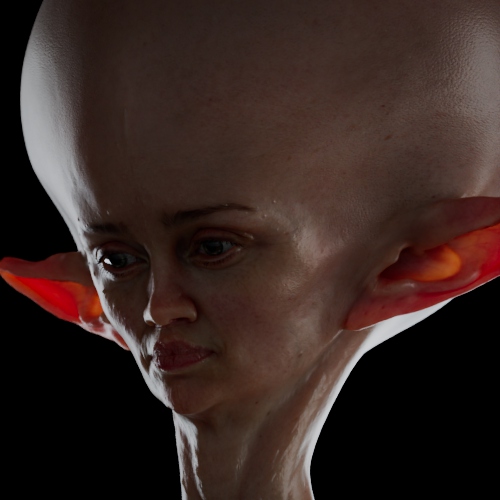
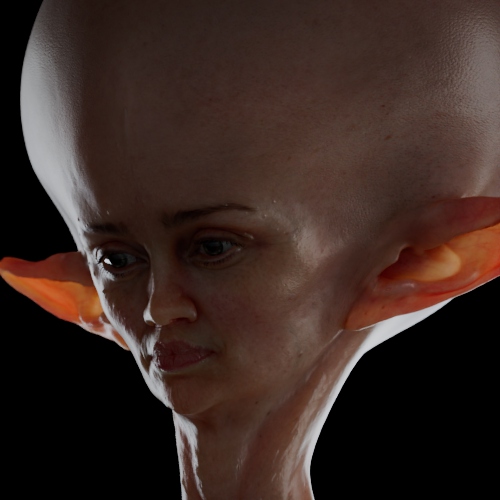
The average distance that light travels in the subsurface before absorbing or scattering, also known as the “mean free path” (MFP). This parameter affects the average distance that light will propagate below the surface before scattering back out. Higher values will produce a more blurry, translucent appearance of the subsurface scattering, while lower values will result in a more dense, opaque look.
The MFP can be specified for each color component separately using the Subsurface Radius Scale color, which multiplies the Subsurface Radius.
Higher Radius values will make the light scatter more deeply inside the interior, producing a more blurry, translucent appearance of the Subsurface scattering. Lower values will result in a more dense look. A Radius of zero will produce essentially an opaque, diffuse look.
 |
 |
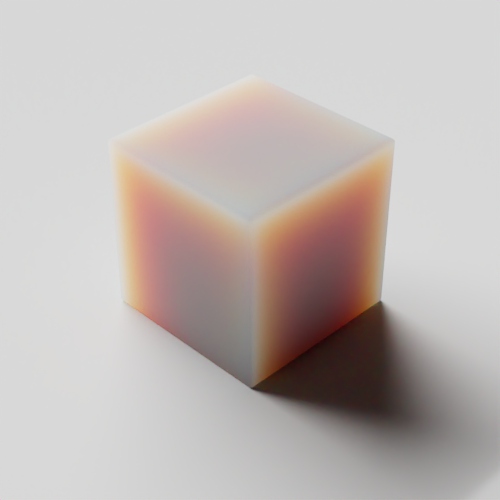 |
| 0.1 | 0.3 | 0.5 |
 |
 |
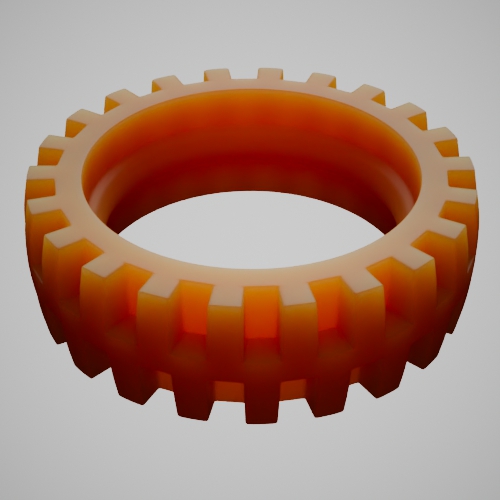 |
| 0 | 0.5 | 1 (default) |
Increasing the Radius value can radically change the appearance of the material, from looking like leather to marble. SSS is very scale-dependent. You will need to adjust the Radius multiplier depending on the size of your model. If you were to render using the default SSS settings, you might get something that does not look correct. Alternatively, adjusting the scene scale can have similar results.
 |
 |
 |
| 0 | 0.1 | 0.2 |
Radius Scale
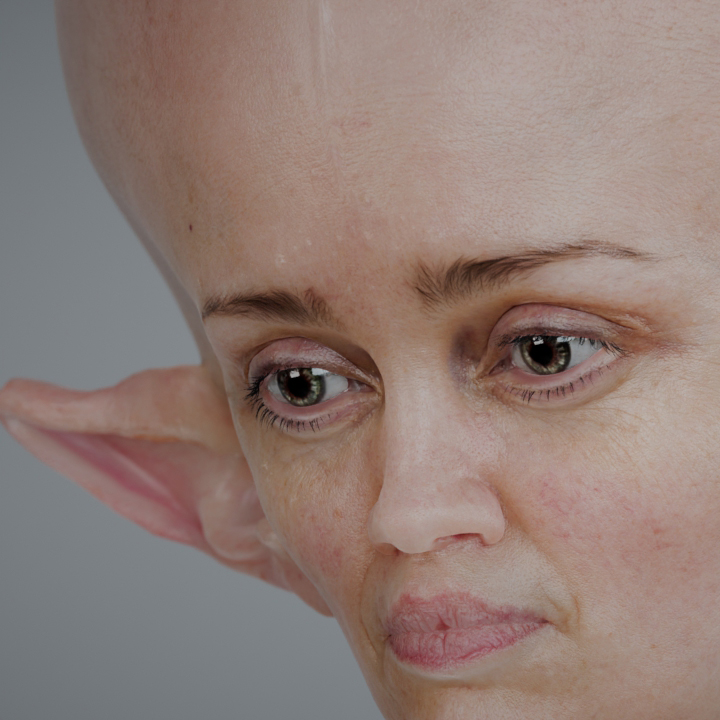
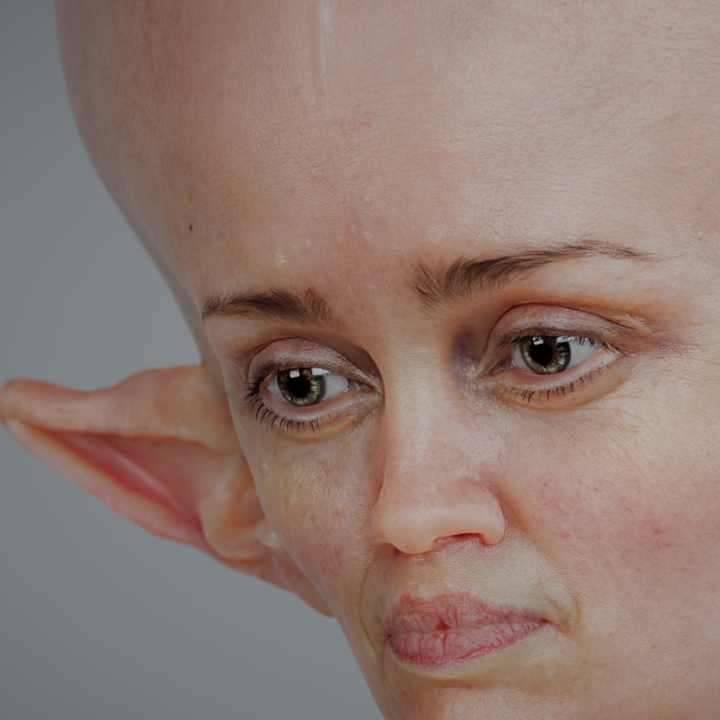
An RGB scale factor that multiplies the Subsurface Radius. This allows the mean free path (MFP) to be different for each RGB color channel. For example, a material like clay or skin should have a higher MFP in the red channel than in the green and blue channels.
The default color value is used to represent Rayleigh scattering (which, e.g., gives milk the slight blue color).

When rendering skin, you should use a color like 1.0, 0.35, 0.2, indicating that red should scatter deepest and green and blue less. This would replace a three-layer workflow (deep, mid, and shallow layers) for skin, where you would make the deep layer red. Setting the R channel of Subsurface Radius Scale to a larger value would correspond to that.
 |
 |
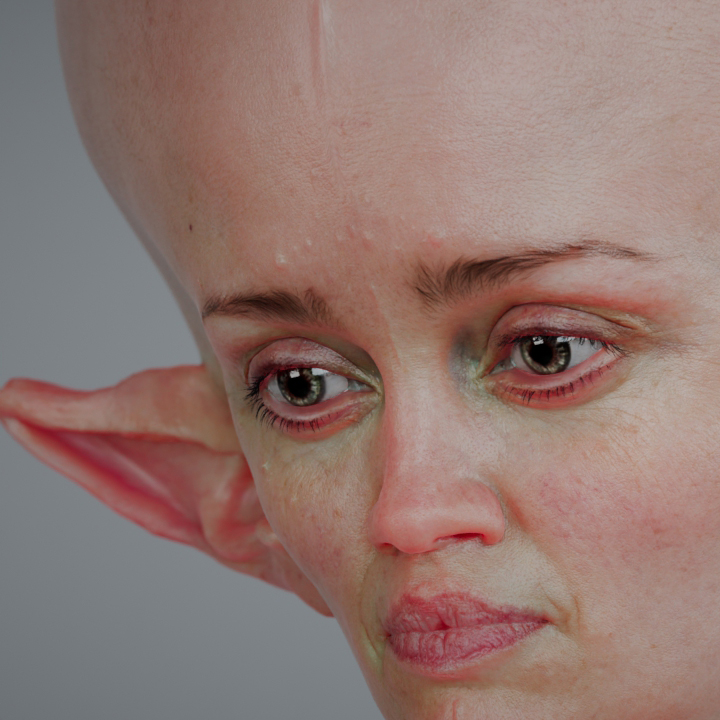 |
| White | Default color | Red tint |
There is no direct correspondence between the Subsurface Radius Scale color and the rendered color, as the color is driving the “mean free path” per channel, i.e., how far the light bleeds relatively in each channel.
Anisotropy
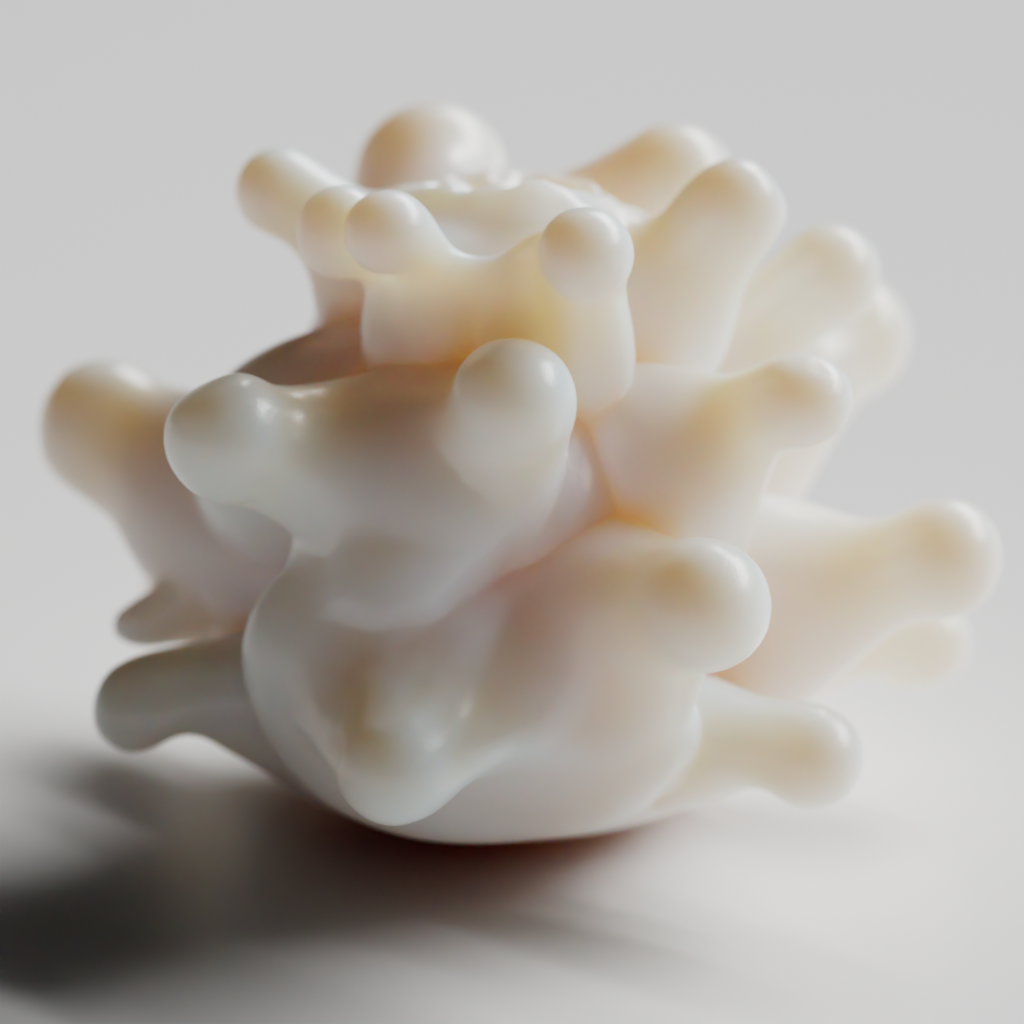
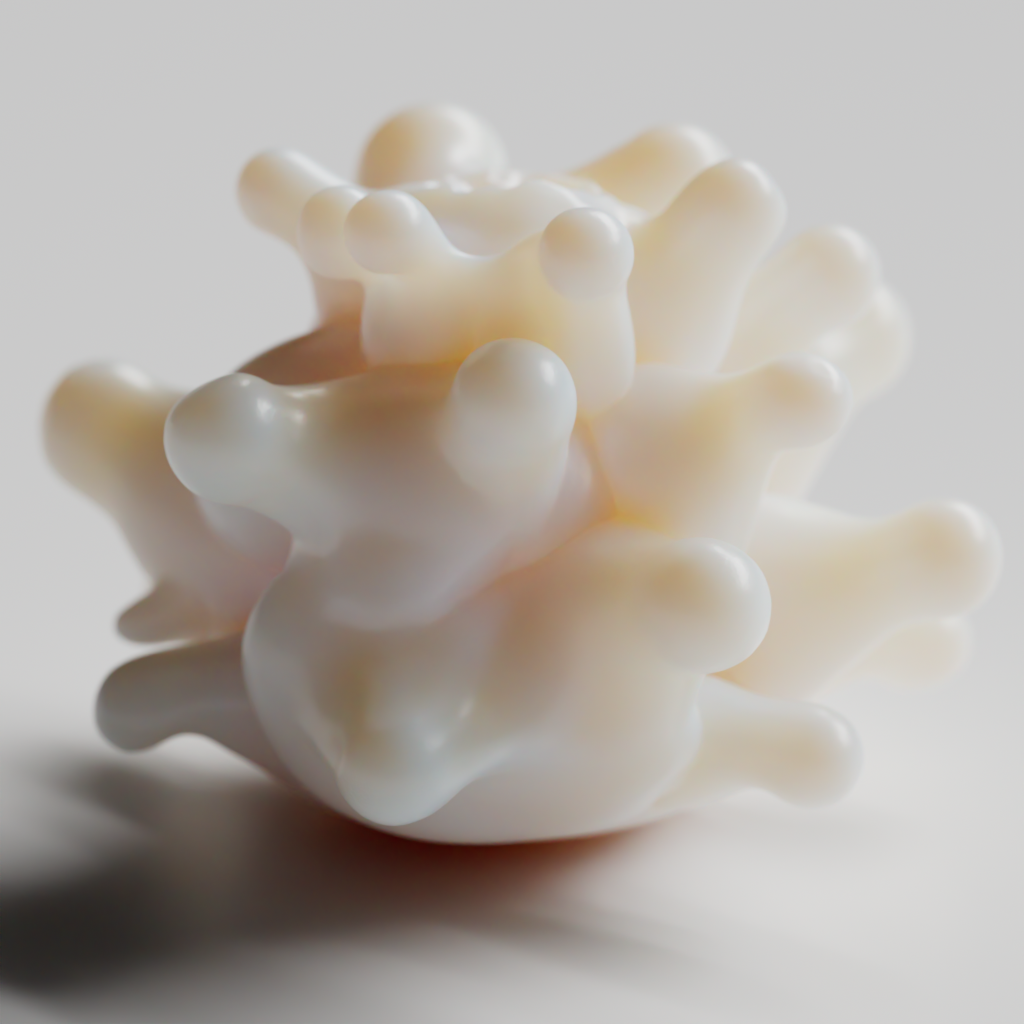
The phase function anisotropy controls the angular distribution of the scattered light, from -1 (full back-scatter) to 1 (full forward-scatter). The default is 0 for an isotropic medium, which means that light scatters evenly in all directions. Positive values bias the scattering effect forward, in the direction of the light (producing deeper scattering and a stronger "silver lining" effect), while negative values bias the scattering backward, toward the light (producing shallower scattering).
 |
 |
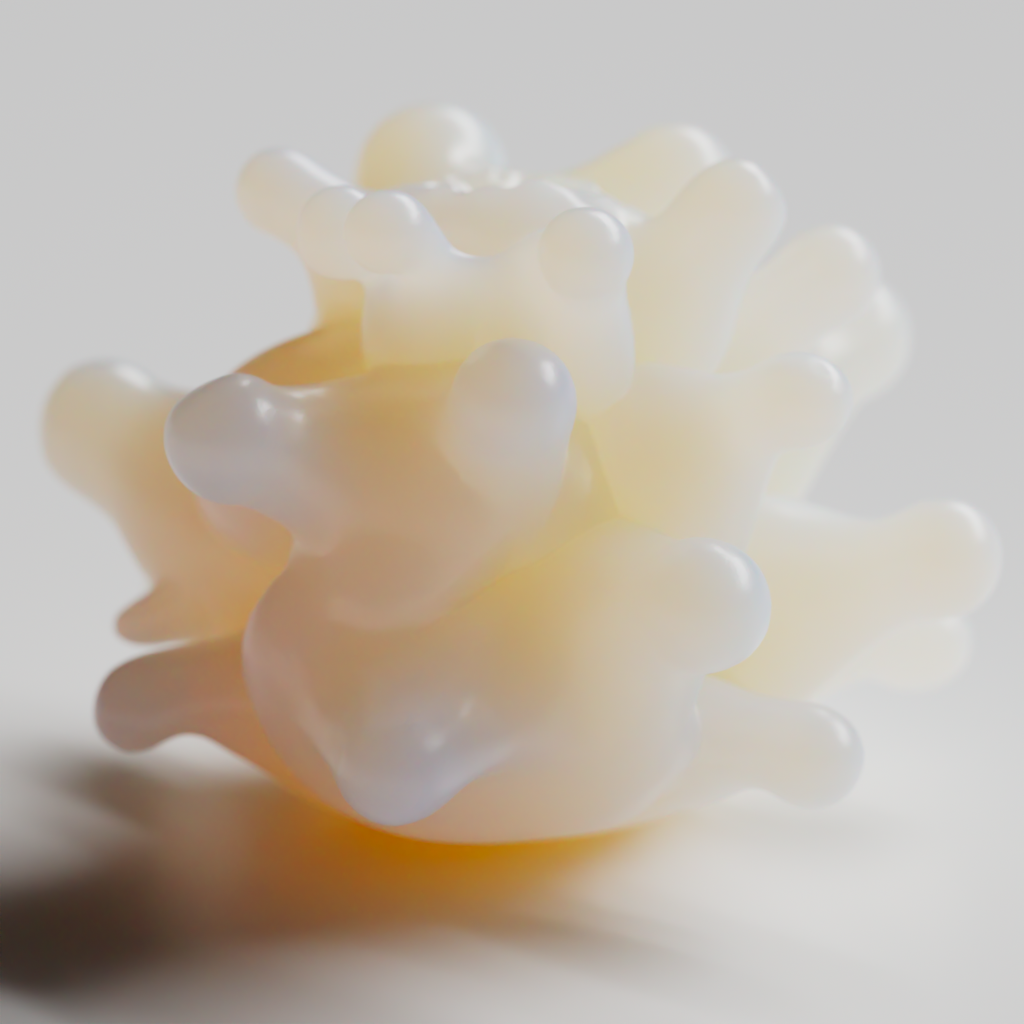 |
| -0.8 | 0 (default) | 0.8 |
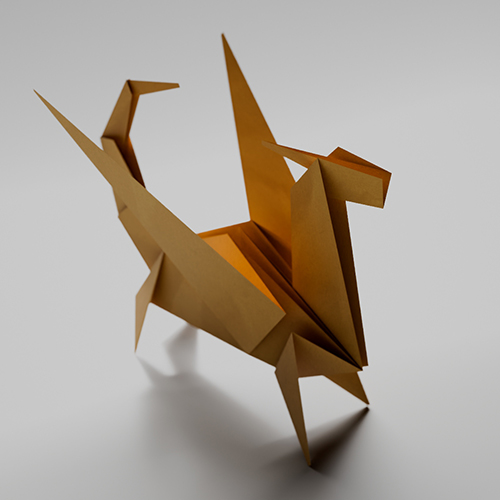
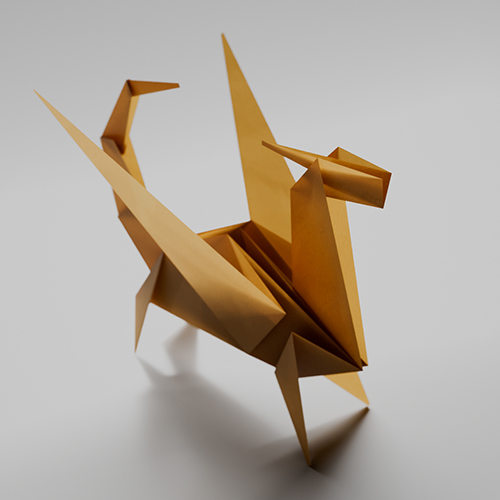
The following example shows the effect in combination with Thin Walled, modeling a thin sheet of scattering material. In this case, the forward scattering is enhanced or reduced by positive or negative anisotropy, respectively.
 |
 |
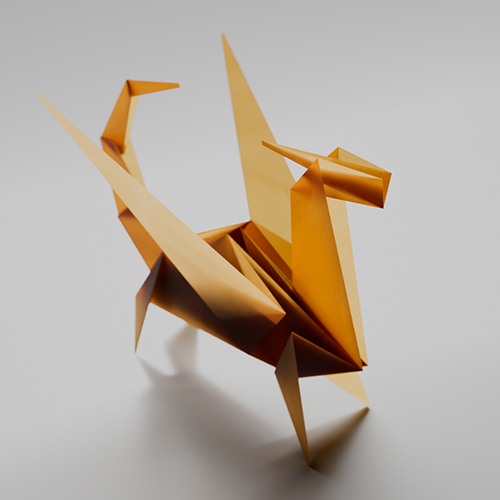 |
| -1 | 0 (default) | 1 |
SSS Between Objects
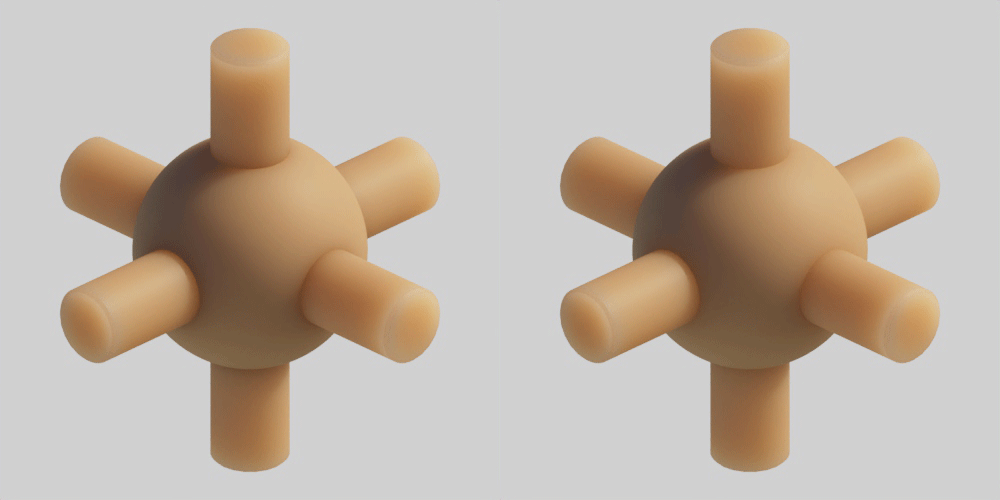
It is possible to tag multiple objects as belonging to the same SSS 'set' so that illumination will blur across object boundaries. A common use case might be blurring between teeth and gum geometry. It is enabled by adding the constant STRING userdata sss_setname to the same value on the objects in the set.
 |
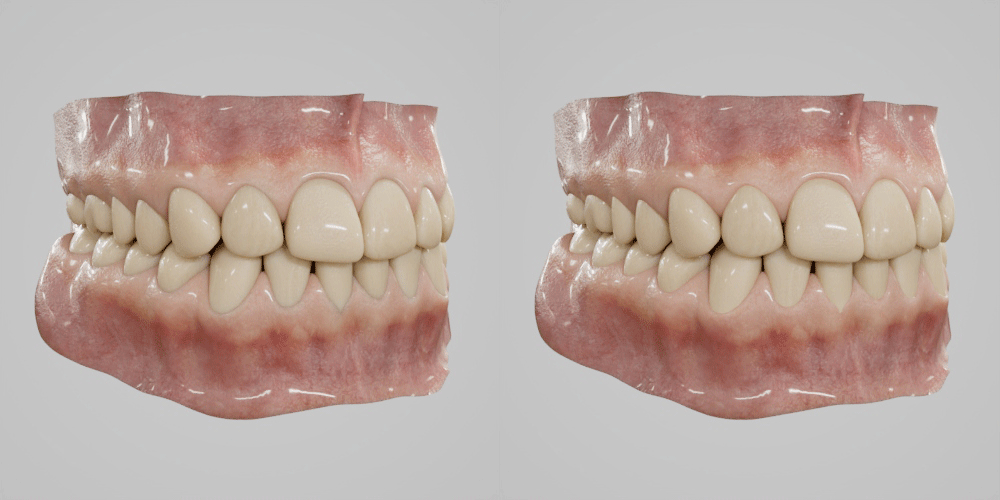 |
No sss_setname used (default) vs same sss_setname used across all objects. Notice a difference where the objects intersect.
