Autodesk CAMplete TruePath has support for Windows touch gestures and icons that appear in the 3D view. These commonly used icons can also be clicked by a mouse.
3D View Icons
The 3D view icons appear in the upper left and bottom left of the 3D view. Each individual icon can be hidden or shown independently.
On the Manage tab, click Options:
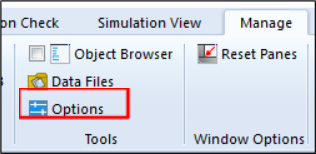
Go to the 3D Display page.
At the bottom of the page will be the grid controlling the 3D icons:
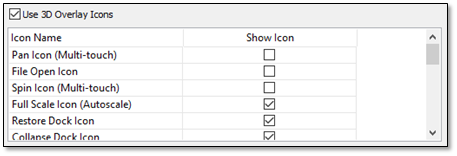
All of the icons can be disabled by un-checking Use 3D Overlay Icons.
Each individual icon can be shown or hidden using the Show Icon column.
The available icons are:

Pan the view (used for touch screen gestures).

Open a file (same as File > Open).

Spin the view (used for touch screen gestures).

Autoscale the view to full screen.

Restore the docked views (will show the entire 3D view).

Collapse the docked views.

Shaded View – Switch the 3D view to shaded.

Wireframe View – Switch the 3D view to wireframe

Brightness – Adjust the brightness level of the 3D view (makes shaded objects brighter or darker.

3D Measure – Measure items in the 3D view.

Switch to Tool Positioning mode.

Switch to Machine Positioning mode.

Rewind the simulation.

Pause the active simulation. This is the same as a feed hold.

Stop the simulation.
** **

Start the simulation.

Show the Jog Machine view for manually moving the machine axes.

Show the machine enclosure and body parts.

Hide the machine enclosure and body parts.

Show only the Supporting axes (work piece and spindle).

Show only the part, fixture and tool geometry.

Center the view on the cutting tool center.

Autoscale to the part geometry.

Autoscale to the part and fixture geometry.

Center the orbit on the part.

Center the orbit on the part and fixture.

Add a clipping plane.
Windows Touch Gestures
If you are running Windows 7 or Windows 8 with a touch screen, touch gestures will work in the 3D view.
|
|
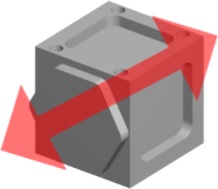
Pinch zoom (zoom in or out with 2 fingers). |
|
|
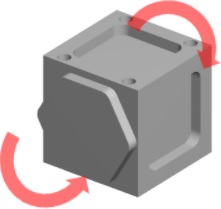
Rotate the view during zooming by moving 2 fingers clockwise or counter-clockwise. This motion is combined with the pinch zoom. |
|
|
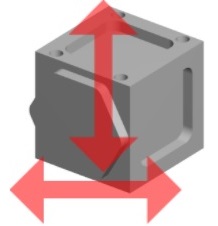
Orbit the view with a single finger. Left and right motion controls the azimuth angle and up and down controls the elevation. |
|
|
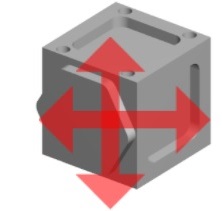
Pan the view with a single finger by touching
with a second finger. No scaling or rotations will occur. |
|
|
Spin the with a single finger by touching
with a second finger. No scaling or other rotations will be applied. |

