Ai User Data Float Tutorial - Arnold for Maya
This short tutorial covers how to use the Ai User Data Float shader.
The Maya scene can be downloaded here.
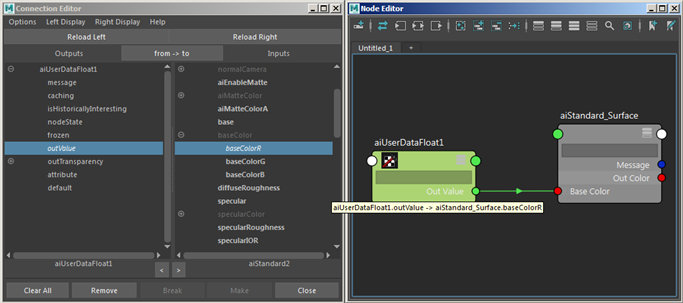
- Start off by creating an Ai User Data Float shader and a standard_surface shader. Open the connection editor for both of them. Select the outValue of the Ai User Data Float shader and connect it to the base_colorR attribute of the standard_surface shader.
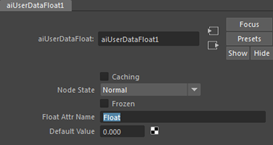
- Select the Ai User Data Float node and add a name in the Float Attr Name in the attribute editor. In this example, we have used the name 'Float'.
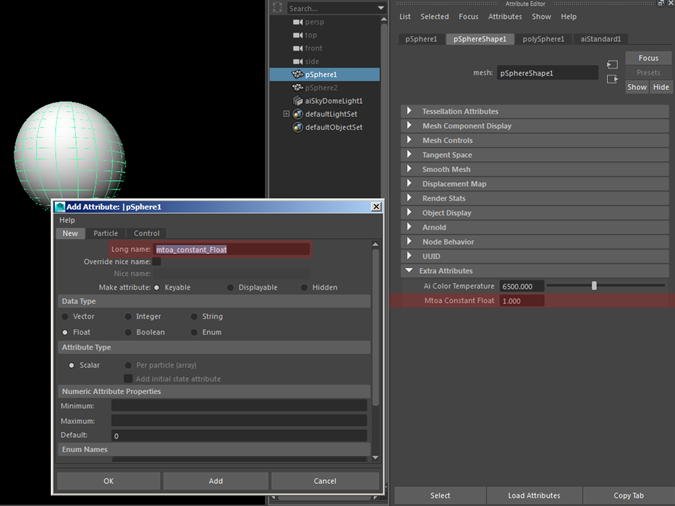
Create a sphere and add an attribute to it (the shape node, not the transform node). Use the naming convention' mtoa_constant_' followed by the same name we gave for our Ai User Data Float node - 'Float'. So it would be named ' mtoa_constant_Float'.
In the extra attributes for the sphere, you should see the new attribute 'mtoa_constant_Float' with a value of 1.
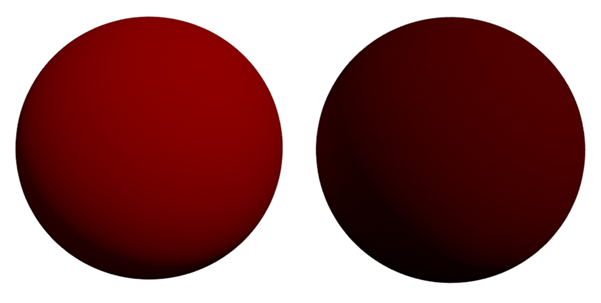
- Duplicate the sphere and change the 'mtoa_constant_Float' value for the second sphere to 0.3.
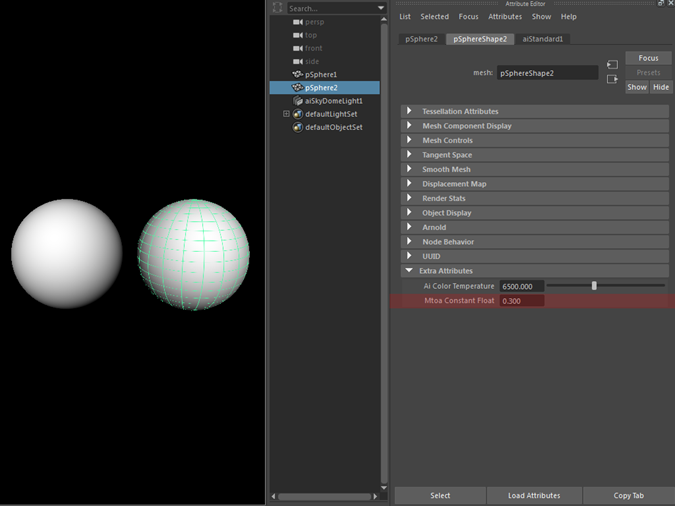
- Render the scene. You should notice that the sphere on the left has a full red value of 1.0 as determined by our 'Float' attribute of 1.0. Whereas the sphere on the right is a darker shade of red because we changed its 'Float' attribute to 0.3.