
Subtitle
Use Subtitle to add subtitles to a clip.
| Access | To access the Subtitle menu, use:
|
| Input | Front - The clip to add subtitles on. |
| Output | Result - The Front clip with added subtitles. |
In most cases, a subtitle is added by creating a Subtitle Timeline FX on a gap of a Subtitle track.
Subtitle as Timeline FX
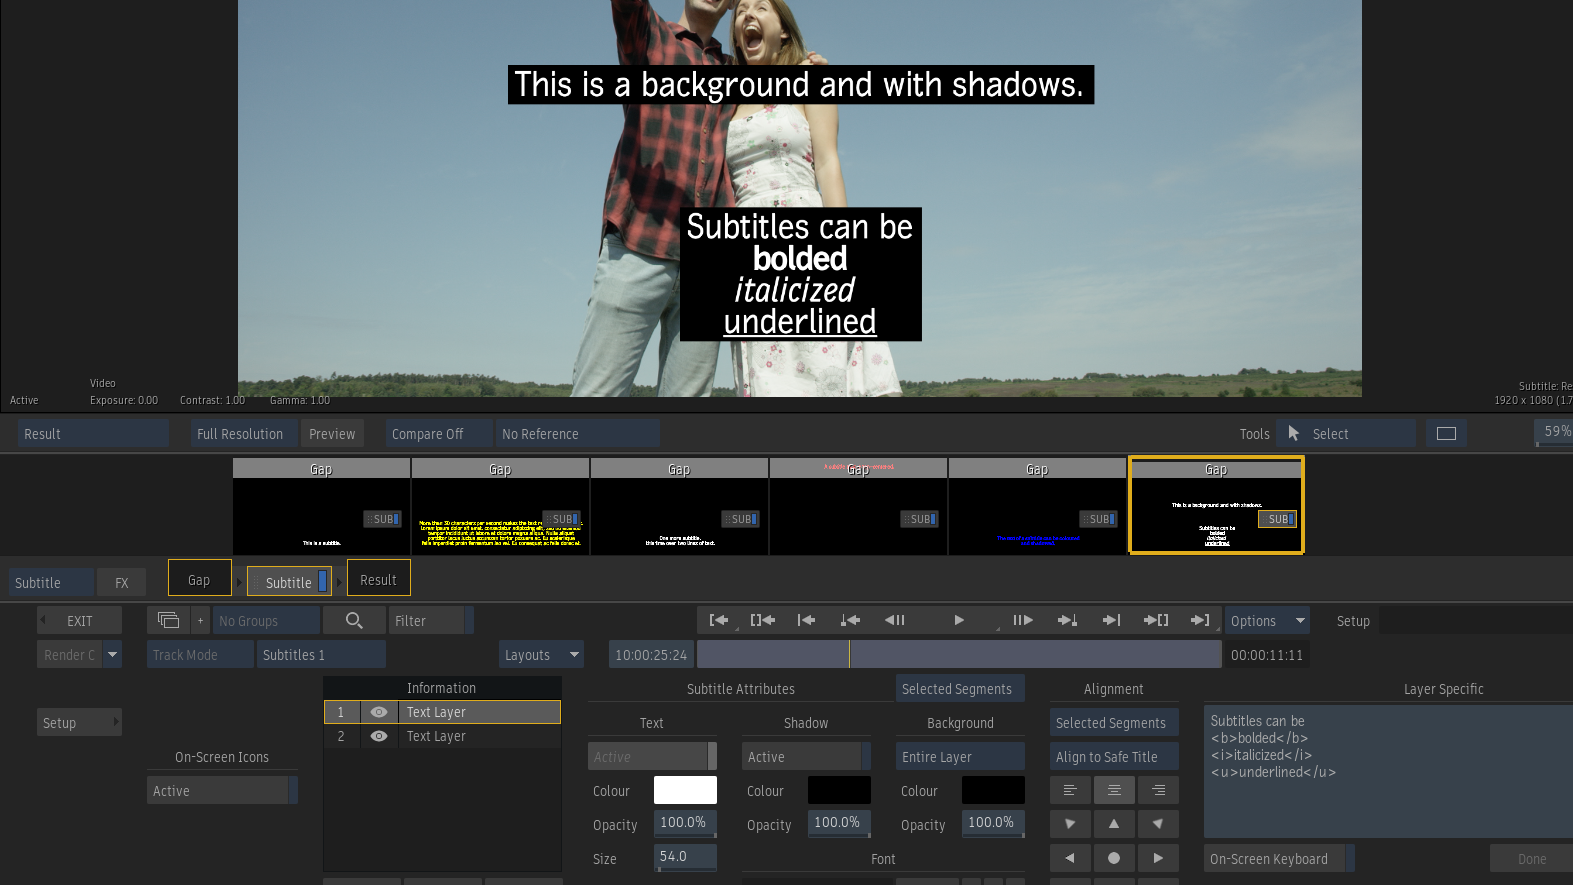
The Subtitle Timeline FX is the Timeline FX to use when working with subtitles. While a Subtitle FX can be used on any segment, it is best used on the Subtitle track for subtitling.
The Subtitle Timeline FX is similar to Burn-In Metadata, but can only contain text layers. These text layers can be multi-line, so the Text field is larger.
You can set text to bold, italic, and Underline. Contrary to other attribute settings, this can be set per character in a layer.
To set a character, word, or layer to bold, italic, and Underline:
Select the text in the Text field.
Click B, I, or U to apply the style.
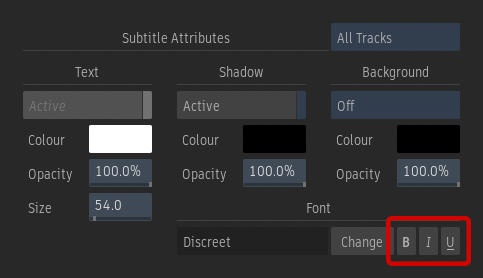
When you apply a style, its tag is added to the text.
- Bold: <b></b>
- Italic: <i></i>
- Underline: <u></u>
This ensures that if you export the Subtitle track as an SRT file, bold, italic, and Underline are preserved. These settings, alongside colour and alignment, are the only attributes that are exported in an SRT. All other attributes are lost since they are not supported by the SRT format.
When you burn-in the subtitles during the export all attributes are preserved.
Applying Subtitle Attributes
To ensure the uniformity of subtitles on a Subtitle track, use the Attributes Scope box. With it you can easily affect a range of Subtitle FX with your changes to the Subtitle Attributes.
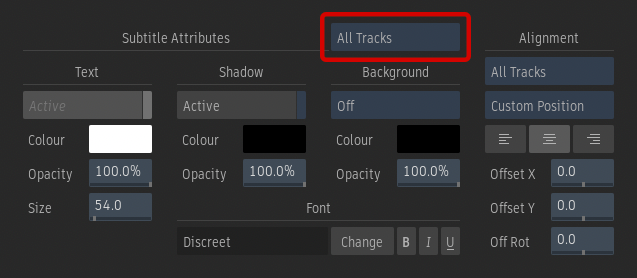
- All Tracks: Modifications are applied to all Subtitle Timeline FX present in the sequence. This is the default value.
- Current Track: Modifications are applied to all Subtitle Timeline FX present on the same track.
- Selected Segments: Modifications are applied to all selected Subtitle Timeline FX. The selection and modifications must be made in the Effects environment.
- All Layers: Modifications are applied to all layers in the current Subtitle Timeline FX.
- Current Layer: Modifications are applied to the current layer in the current Subtitle Timeline FX.
A menu specific to Alignment options is also available.
Setting a Range for Layers
Use the Range setting to set in and out points for layers in the segment.
This option is useful when two subtitles are overlapping in time inside the SRT file. In this case a single segment is created inside the application and each event have the proper From / To values set.
Subtitle FX Setups
You can save a Subtitles Timeline FX to the Explorer or as a Setup to disk.
To the Explorer:
When you save a Subtitle Timeline FX to the Explorer, only the Global Attributes and Alignment are saved. The text of the Subtitle Timeline FX is discarded. This allows you to create a Subtitle Timeline FX template that you can easily apply to other segments.
If you drag and drop a setup from the Explorer to a Subtitle track, then only Subtitle Timeline FX are restored. Other types of Timeline FX present in the setup is ignored since they cannot exist on a Subtitle track.
If you drag and drop a setup with only Subtitle Timeline FX to a Video track and there is no Subtitle track, then the setup is applied on a video segment.
As a Setup:
When you save a Subtitle Timeline FX as a Setup, the Global Attributes and Alignment are saved, so is the text.
When you restore a setup in an Subtitle Timeline FX:
- If a Subtitle setup is loaded but there are no Text Layer, then the entire setup is loaded, including the original Text layers.
- If a Subtitle node is part of a Batch / BFX Setup, then it is restored as is with all its text layers and attributes.
Settings
General Settings
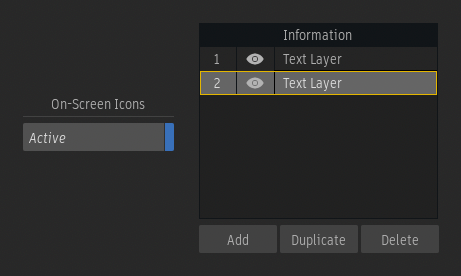
On-Screen Icons
Enable to display layer widgets in the viewport. Use the widgets to move the layer in X and Y, or rotate in Z. Alignment options allow you to affect only the selected layer or every layers.
Subtitles list
Lists the subtitle layers. The eye icon mutes a layer. Click a layer to display its Layer Specific options.
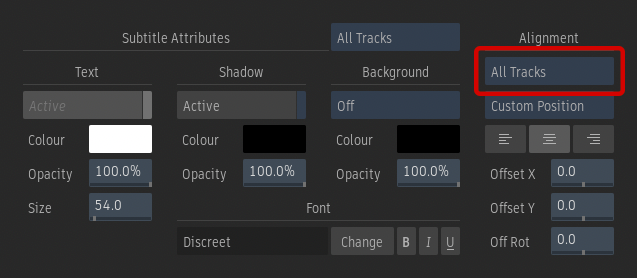
Subtitle Attributes
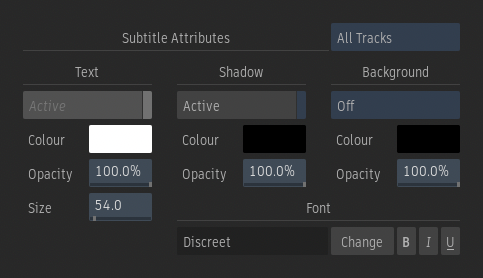
Attributes Scope option
Set the scope of the changes to the subtitle attributes. From affecting only the current layer to all the subtitle tracks.
The Subtitle Timeline Effect offers more option than the Batch node which only offers the possiblity to apply the changes to only one or all layers in the same node.
| Select: | To apply the changes to: |
|---|---|
| Selected Layer | The selected layer only. |
| All Layers | To all layers. |
| Selected Segments | To all layers in the selected timeline segments. |
| Current Track | To all segments on the current timeline track. |
| All Tracks | To all segments in the current sequence. |
Text colour
Set the current subtitle colour. Click to open the colour picker.
Text Opacity field
Sets the opacity of the subtitle.
Text Size field
Sets the font size of the subtitle.
Enable Shadow
Enable to add a drop shadow to the subtitle.
Shadow colour
Set the current shadow colour. Click to open the colour picker.
Shadow Opacity field
Sets the opacity of the drop shadow.
Background Colour option
This adds a rectangular background to the subtitle.
| Select: | To: |
|---|---|
| Off | Hide the background |
| Entire Layer | Frame the text with a box as wide as the longest line. |
| Text Only | Frame the background tightly around the text. |
Background colour
Set the current background colour. Click to open the colour picker.
Background Opacity field
Sets the opacity of the background.
Font field
The font currently in use.
If the chosen font lacks any characters required to process the content of the imported file, you can set a secondary font to display those characters.
If the chosen font lacks any characters required to process the content of the imported file, you can set a secondary font to display those characters. You can configure the secondary font selection in the Preferences panel.
Display Smart Quotes 
Quotations marks can be displayed as single or double marks. When the Display Smart Quotes setting is enabled, quotes are rendered in their "curly" version if the font supports the format. The curly version is also shown in the Text Preview of the Load Font window. Regardless of the status of the setting, the quotes remain displayed as single quotes in the Subtitles editor's text field and in an exported SRT file.
The setting can be set in the Preferences panel.
Change Font
Open the font browser to load a font.
Bold
Bold the selected text.
Italic
Italicize the selected text.
Underline
Underline the selected text.
Alignment
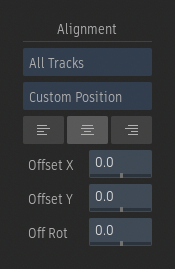
Layer Selection option
Set the scope of the changes to the subtitle alignment. From affecting only the current layer to all the subtitle tracks.
The Subtitle Timeline Effect offers more option than the Batch node which only offers the possiblity to apply the changes to only one or all layers in the same node.
| Select: | To apply the changes to: |
|---|---|
| Selected Layer | The selected layer only. |
| All Layers | To all layers. |
| Selected Segments | To all layers in the selected timeline segments. |
| Current Track | To all segments on the current timeline track. |
| All Tracks | To all segments in the current sequence. |
Alignment Selection option
Select how the subtitle is positioned: custom coordinates, or relative to Safe Action or Title margins.
Text Alignment option
Set the text justification relative to its layer's axis.
X Position field
Sets the X position of the selected layers.
Y Position field
Sets the Y position of the selected layers.
Rotation field
Sets the Z rotation of the selected layers.
Layer Specific
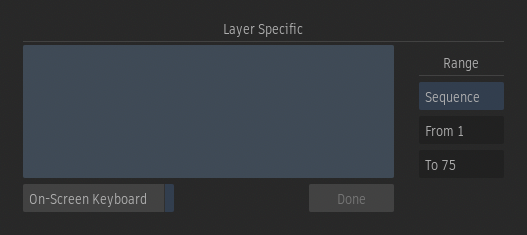
On-Screen Keyboard
The On-Screen Keyboard provides access to more characters than your physical keyboard. Enable the Up ASCII and Symbols buttons to display all the characters available in a font.
Range
Use the Range setting to set in and out points for layers in the segment.
| Select: | To: |
|---|---|
| Sequence | Show the text on all frames. |
| From Frame | Show the text from a user-defined frame through to the end of the segment. |
| To Frame | Show the text from the start of the segment up to a user-defined frame. |
| Custom | Show the text within a user-defined custom range. |