Create a Projector
A projector is a part file that you create in Inventor.
Note: Part file settings determine the units used for the projector settings.
To create a projector:
-
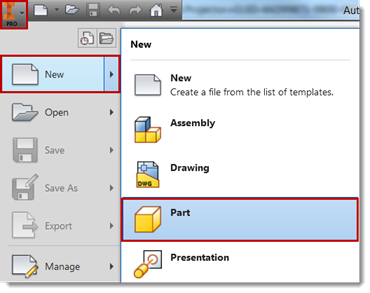
Select New > Part from the Inventor drop-down menu.
-
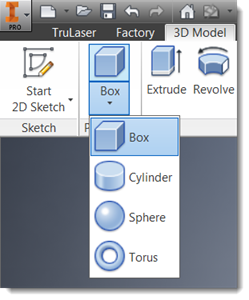
Click Box on the 3D Model tab.
-
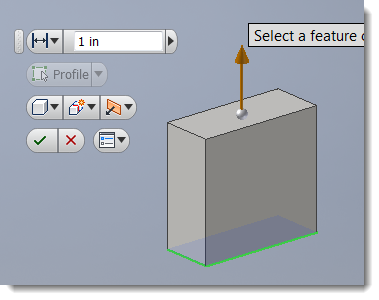
Select a plane on which to create a sketch.
-
Place your cursor at the center (0,0) and drag to create a box. Click the green check mark when you are finished drawing.
-
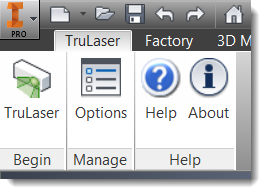
Click TruLaser on the Begin panel the TruLaser tab.
-
Click Projector Settings on the Author panel and enter the projector settings. See the Projector Settings table below for details about each setting.
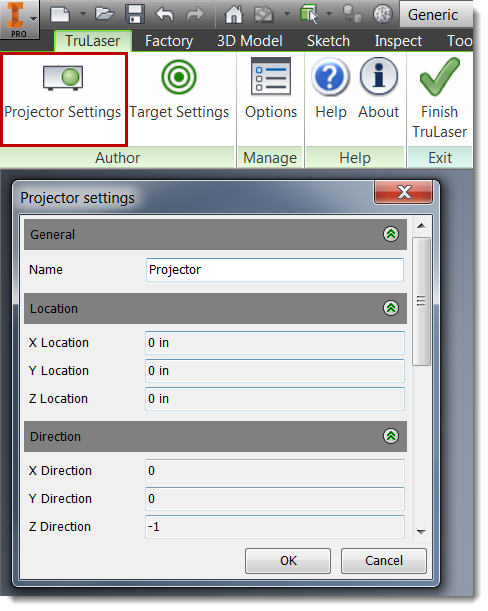
The settings you enter here can change when you place the projector in a project.
-
Click Finish TruLaser.
Projector Settings
| Name |
Projector name |
| Location (X, Y, Z) |
The location from which the projection will originate. |
| Direction (X, Y, Z) |
Direction the projector is pointing towards. |
| Up (X, Y, Z) |
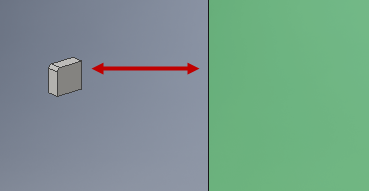
Defines the up orientation of the projector and the direction of the frustum (projection field) |
| Coordinate System |
The coordinate system for the part, such as point of origin. |
| Projector Type |
Projector brand: None, Virtek, LPT, Assembly Guidance, General Scanning, LAP, SL. The brand helps to ensure the correct laser output. |
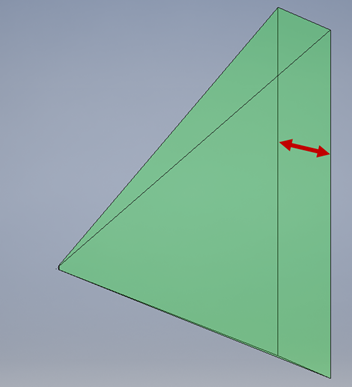
| Projector FOV width |
Angle of view the projector can reach from left to right: 
Changing this value to a smaller value narrows the FOV:
|
| Projector FOV height |
Angle of view the projector can reach from top to bottom: 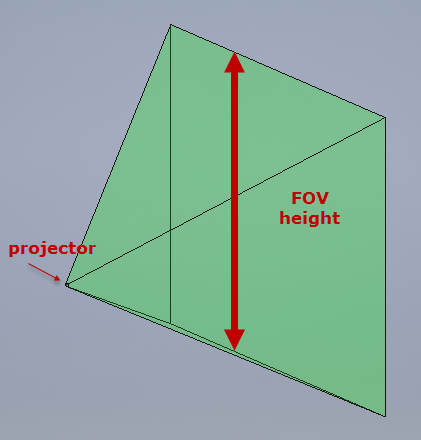
Changing this value to a smaller value shortens the FOV:
|
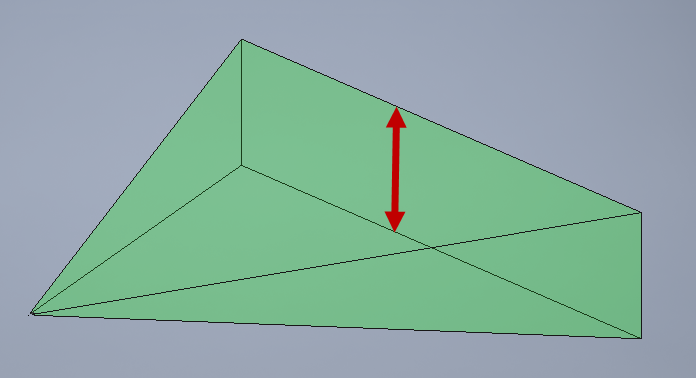
| Min. Focus Distance |
Near limit the projector can reach and still be in focus: 
Changing this value moves the start point of the projection:
|
| Max. Focus Distance |
Far limit the projector can reach and still be in focus: 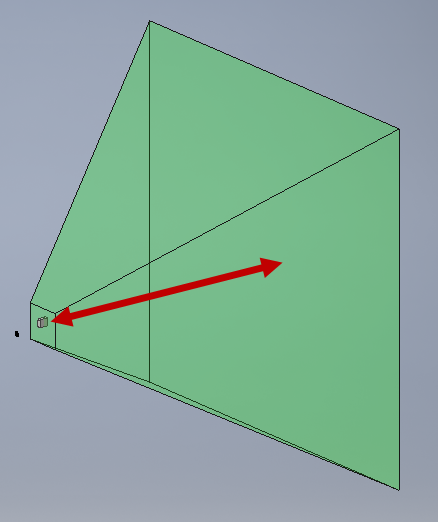
|
