
Add Contour Properties
A contour represents one or more curves (line segments) that will be projected simultaneously. To add a contour, right-click on a group name and select Add Contour. Once added, either double-click on the new contour or right-click and select Edit Properties to add the contour values.
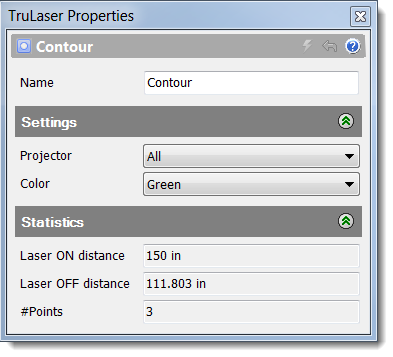
Enter your settings and click Apply. Refer to the table below for property details.
| Name | A unique name that helps you easily identify this contour. |
| Projector | The projector assigned to this contour. If this is not set, the projector will be chosen automatically by the projection controller at projection time. |
| Color | The display color for this contour and the laser light color used to project the contour. |
| Laser ON distance | The total distance the laser projector travels while displaying all the data in the selected contour. |
| Laser OFF distance | The total distance the laser projector travels while moving to the correct locations to start laser projection. In other words, the wasted distance that the laser projector must travel to correctly project the data in the selected contour. |
| #Points | The total number of individual points in the selected contour. |
Access Contour Context Menu Options
Right-click a contour name to view a menu of options. In addition to the standard menu options (see Navigating the TruLaser Browser in Finding Your Way Around for descriptions), the following options are available for contours:
- Add Curve: Add a series of points to represent a curve.
- Convert to Scan: Convert the contour to a scan.
- Invert Selection: Select everything that is not currently selected in the laser data tree and deselect everything currently selected. The new selections are now highlighted in the canvas.