The Surface Info – Cone dialog displays geometric information about the currently selected conical surface.
To display this dialog, double-click a conical surface on a solid model.
The following settings are available:
Semi-Angle — Displays the semi-angle of the cone.
Height — Displays the height of the conical surface.
C Angle — Displays the indexing angle required to machine this surface
B Angle — Displays the angle between the axis of the cone and the Z axis. This angle is useful for machines with a B-axis.
Coordinate System — Select an option to specify whether you want to display the Center1 and Center2 coordinates using Part or Face coordinates.
Center X1, Center Y1, Center Z1 — These fields display the X, Y and Z coordinates of the center of one end of the conical surface. By default, PartMaker chooses the end of the conical surface that should be used as the point of tool entry, taking into consideration the orientation of the conical surface and spindle type of the face window.
Center X2, Center Y2, Center Z2 — These fields display the X, Y and Z coordinates of the center of the second end of the conical surface.

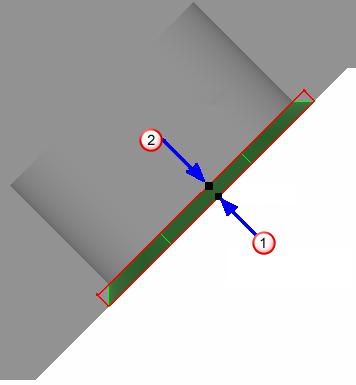
 — Tool orientation for Center 1.
 — Tool orientation for Center 2.
Radius1 — Displays the radius of the conical surface at Center1.
Radius2 — Displays the radius of the conical surface at Center2.
Project Outline — Click to project the peripheral edges of the selected surfaces onto the current PartMaker Face window. Any edge that is a curve is broken down into lines, based on the Curve Tolerance. PartMaker projects the outline in a direction perpendicular to the Face Plane of the current Face window. (For 5 axis faces, this will be the inclined plane.)
If the geometry being transferred contains spline curves, PartMaker displays the Convert Curved Edges dialog where you can specify whether PartMaker converts curves into arcs or lines.